Redis
This section explains how to create a Redis data source in DataDios, create keys of all supported types, and verify automatic TTL-based key expiry.
Steps to Create and Manage a Redis Data Source
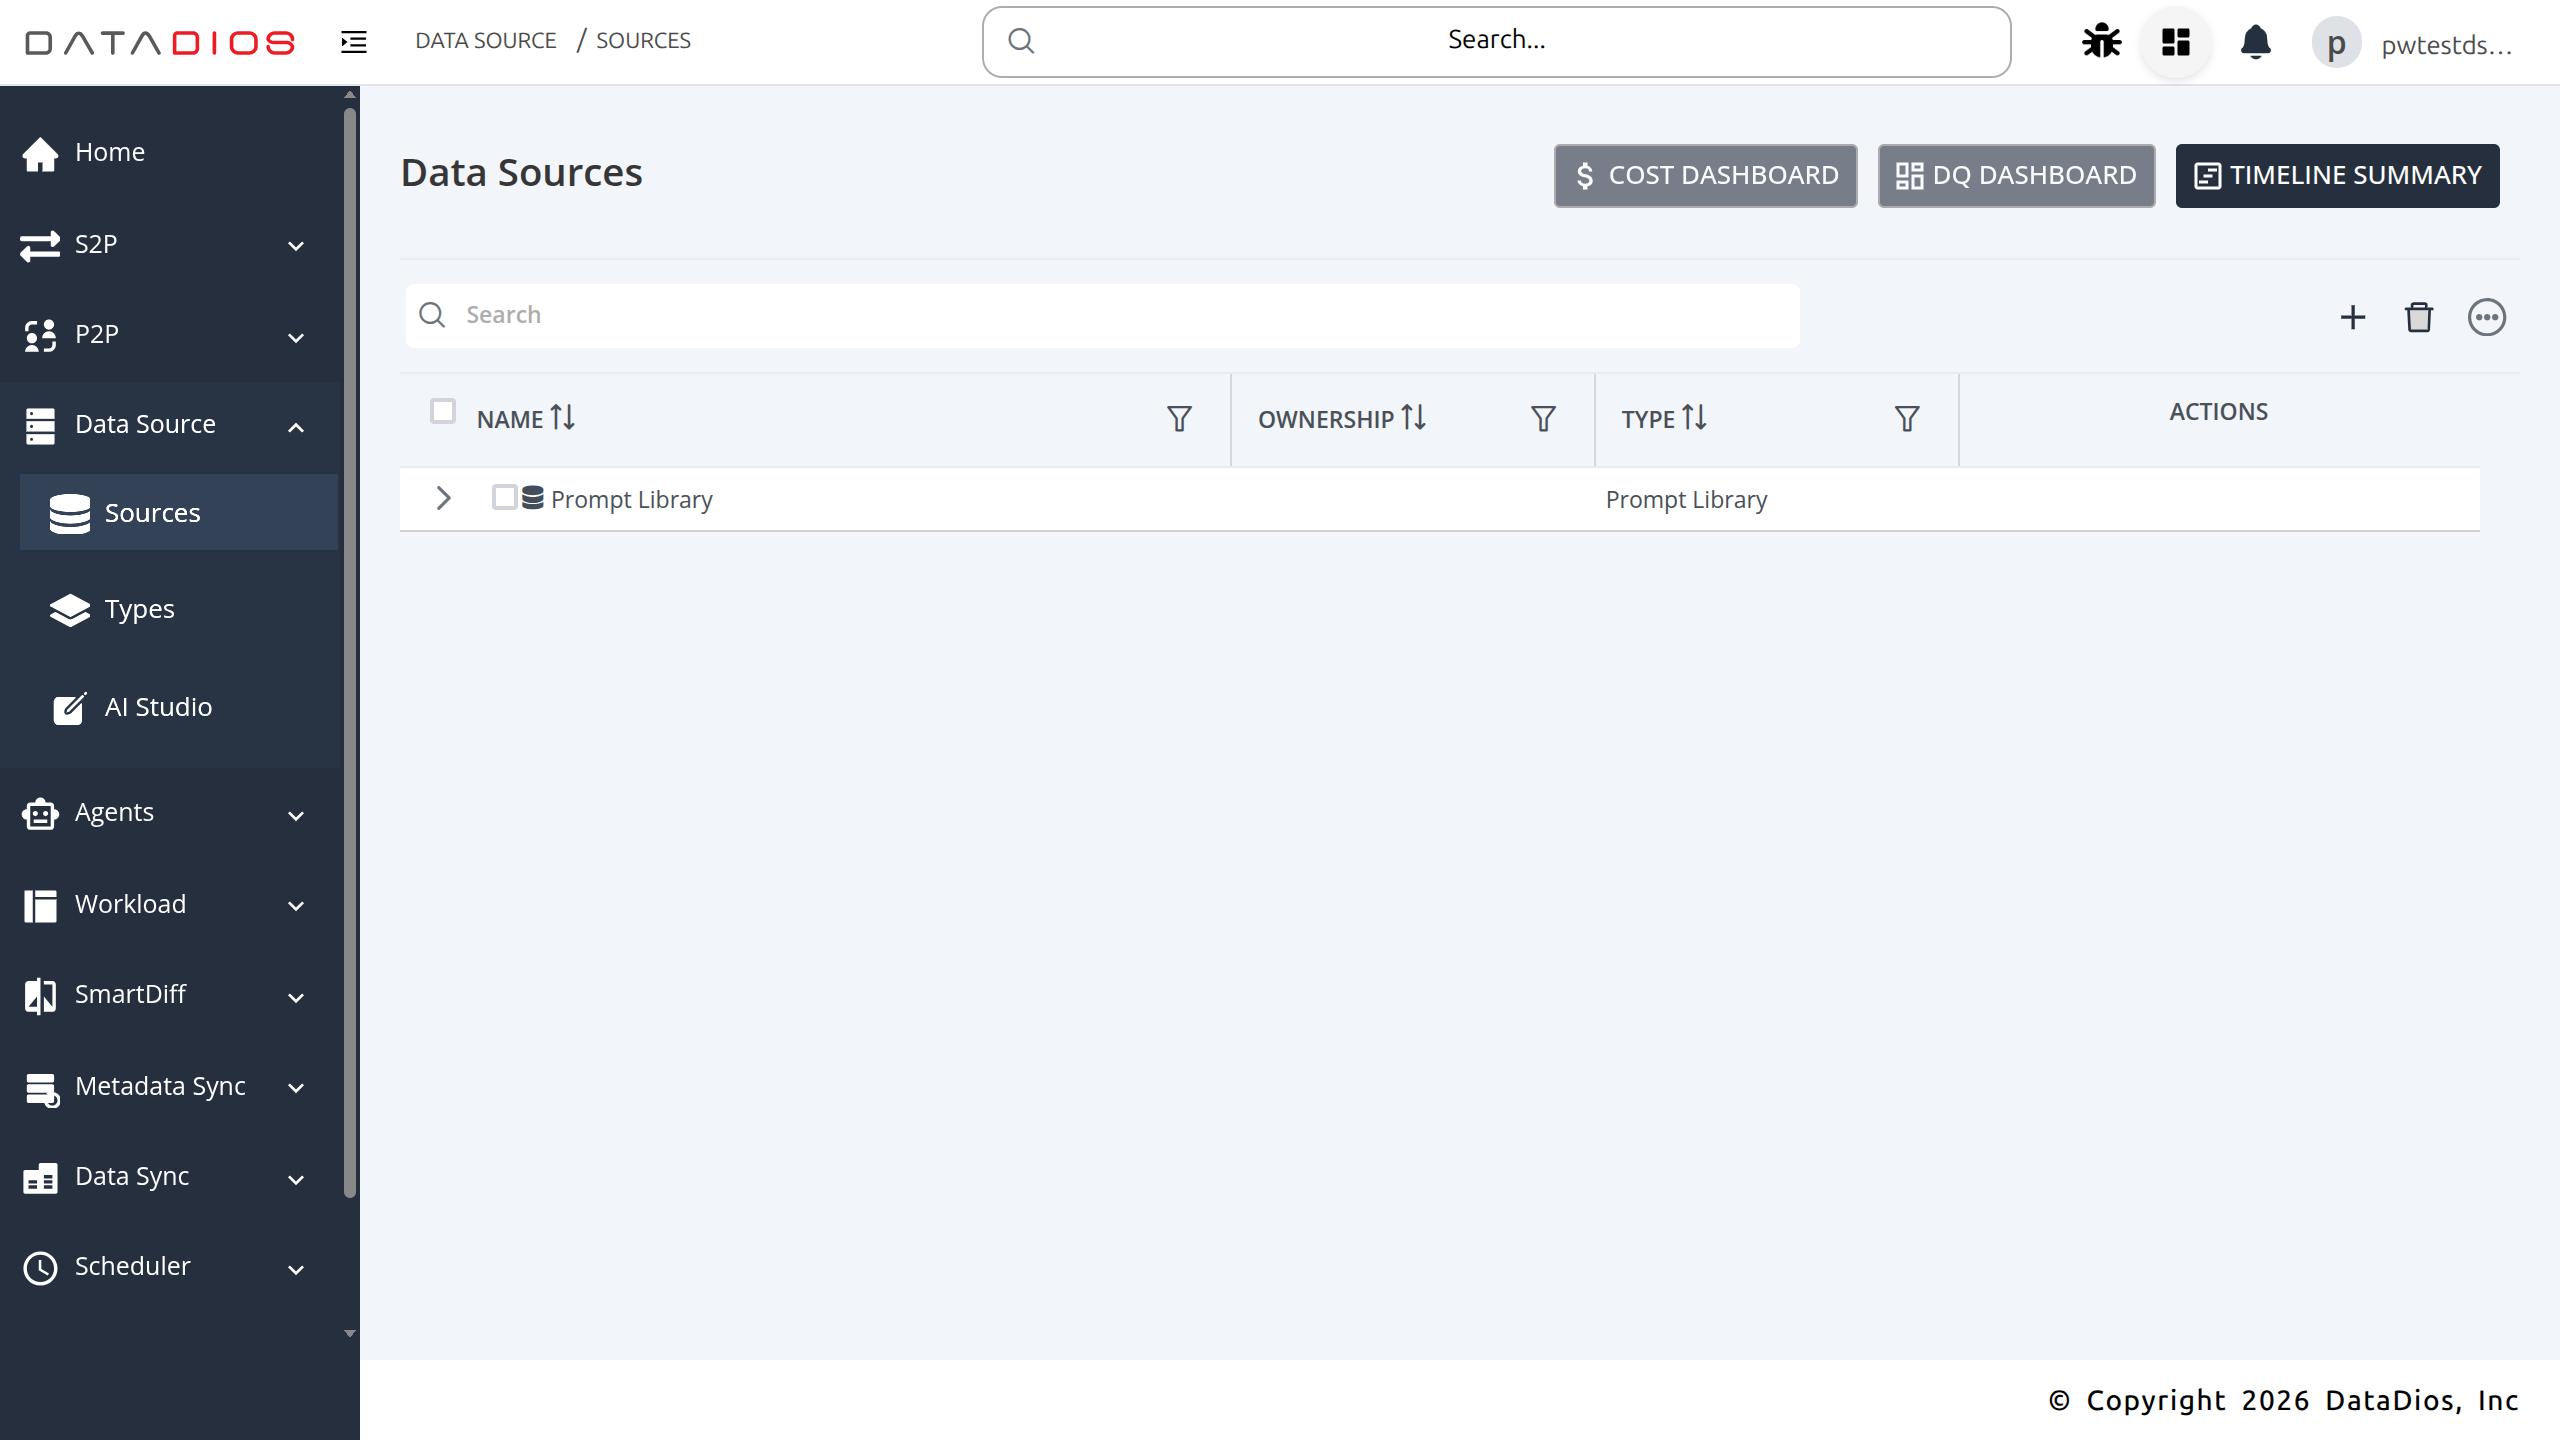
Step 1: Navigate to Data Sources
-
Navigate to the DataSources tab in DataDios
-
The listing page shows all existing data sources
Step 2: Select Redis Connector
-
Click + CREATE DS
-
From the list of available connector types, select Redis
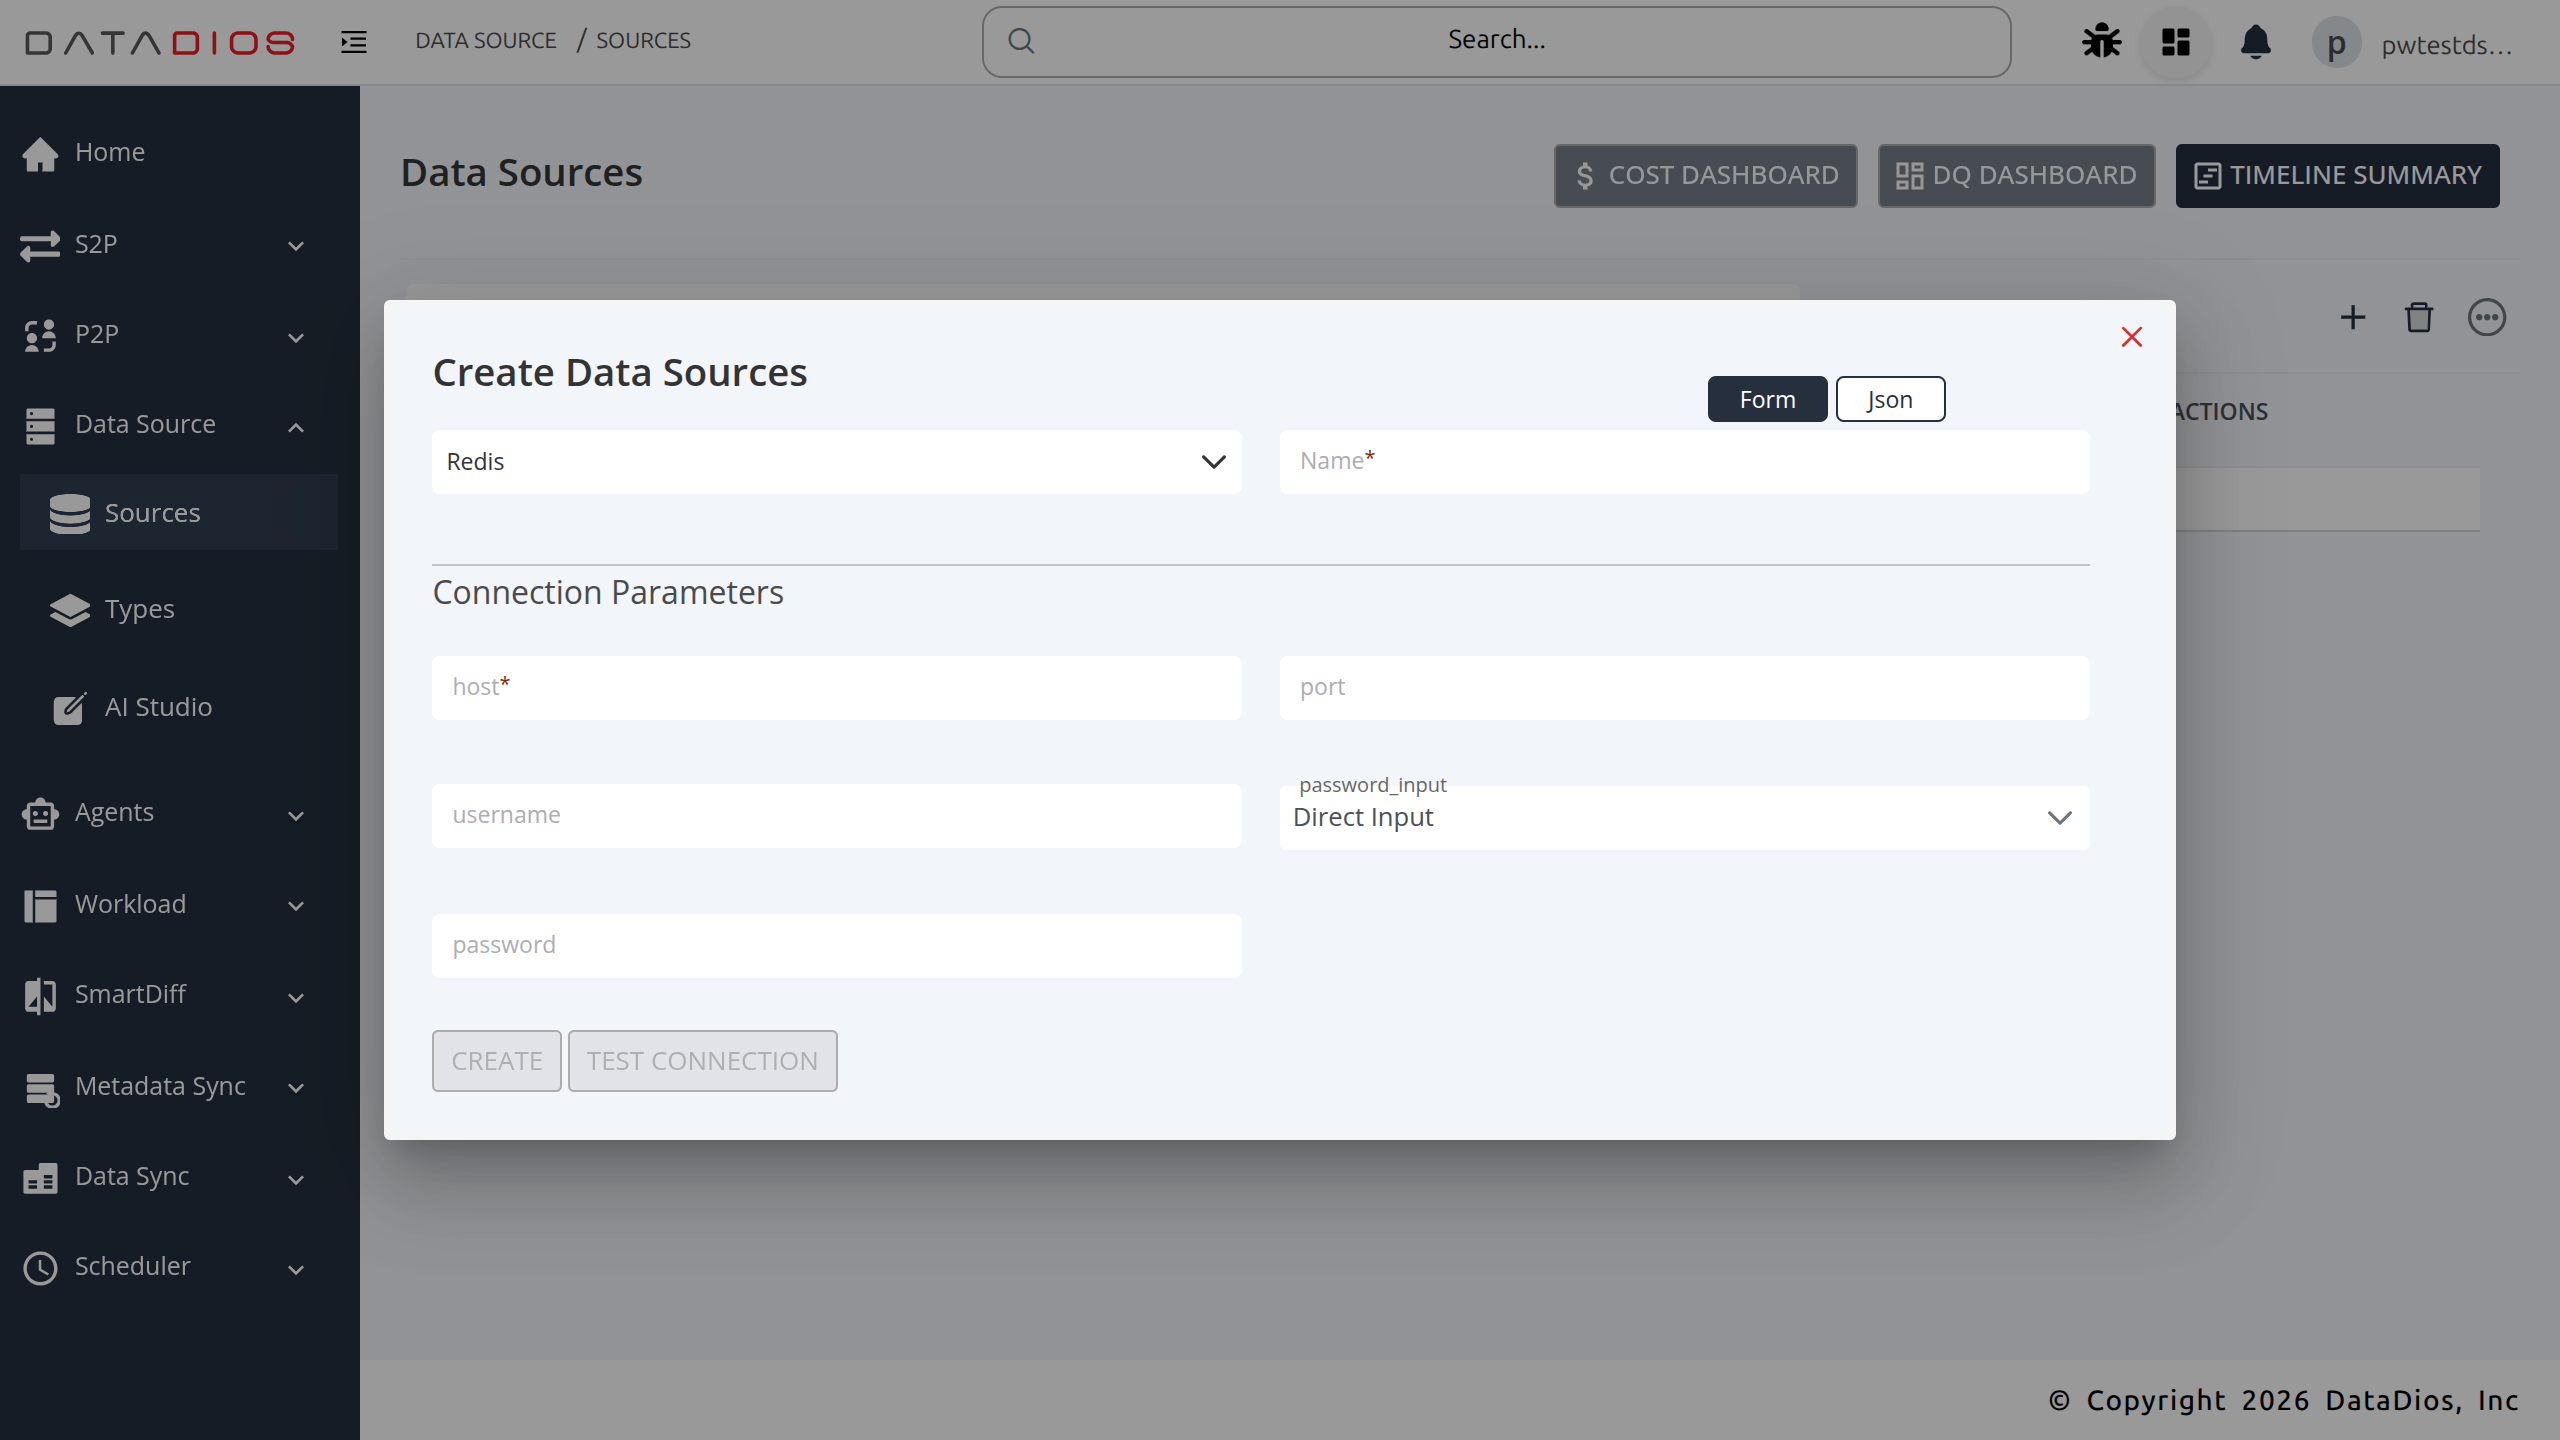
Step 3: Fill Connection Details
In the Connection Details form, provide the required parameters:
-
Host: Redis server hostname or IP address (e.g.,
localhost) -
Port: Redis server port (default:
6379) -
Password: Redis authentication password (leave empty if auth is disabled)

Step 4: Test Connection
-
After entering the details, click Test Connection
-
If the connection details are correct, the test will return Status: OK
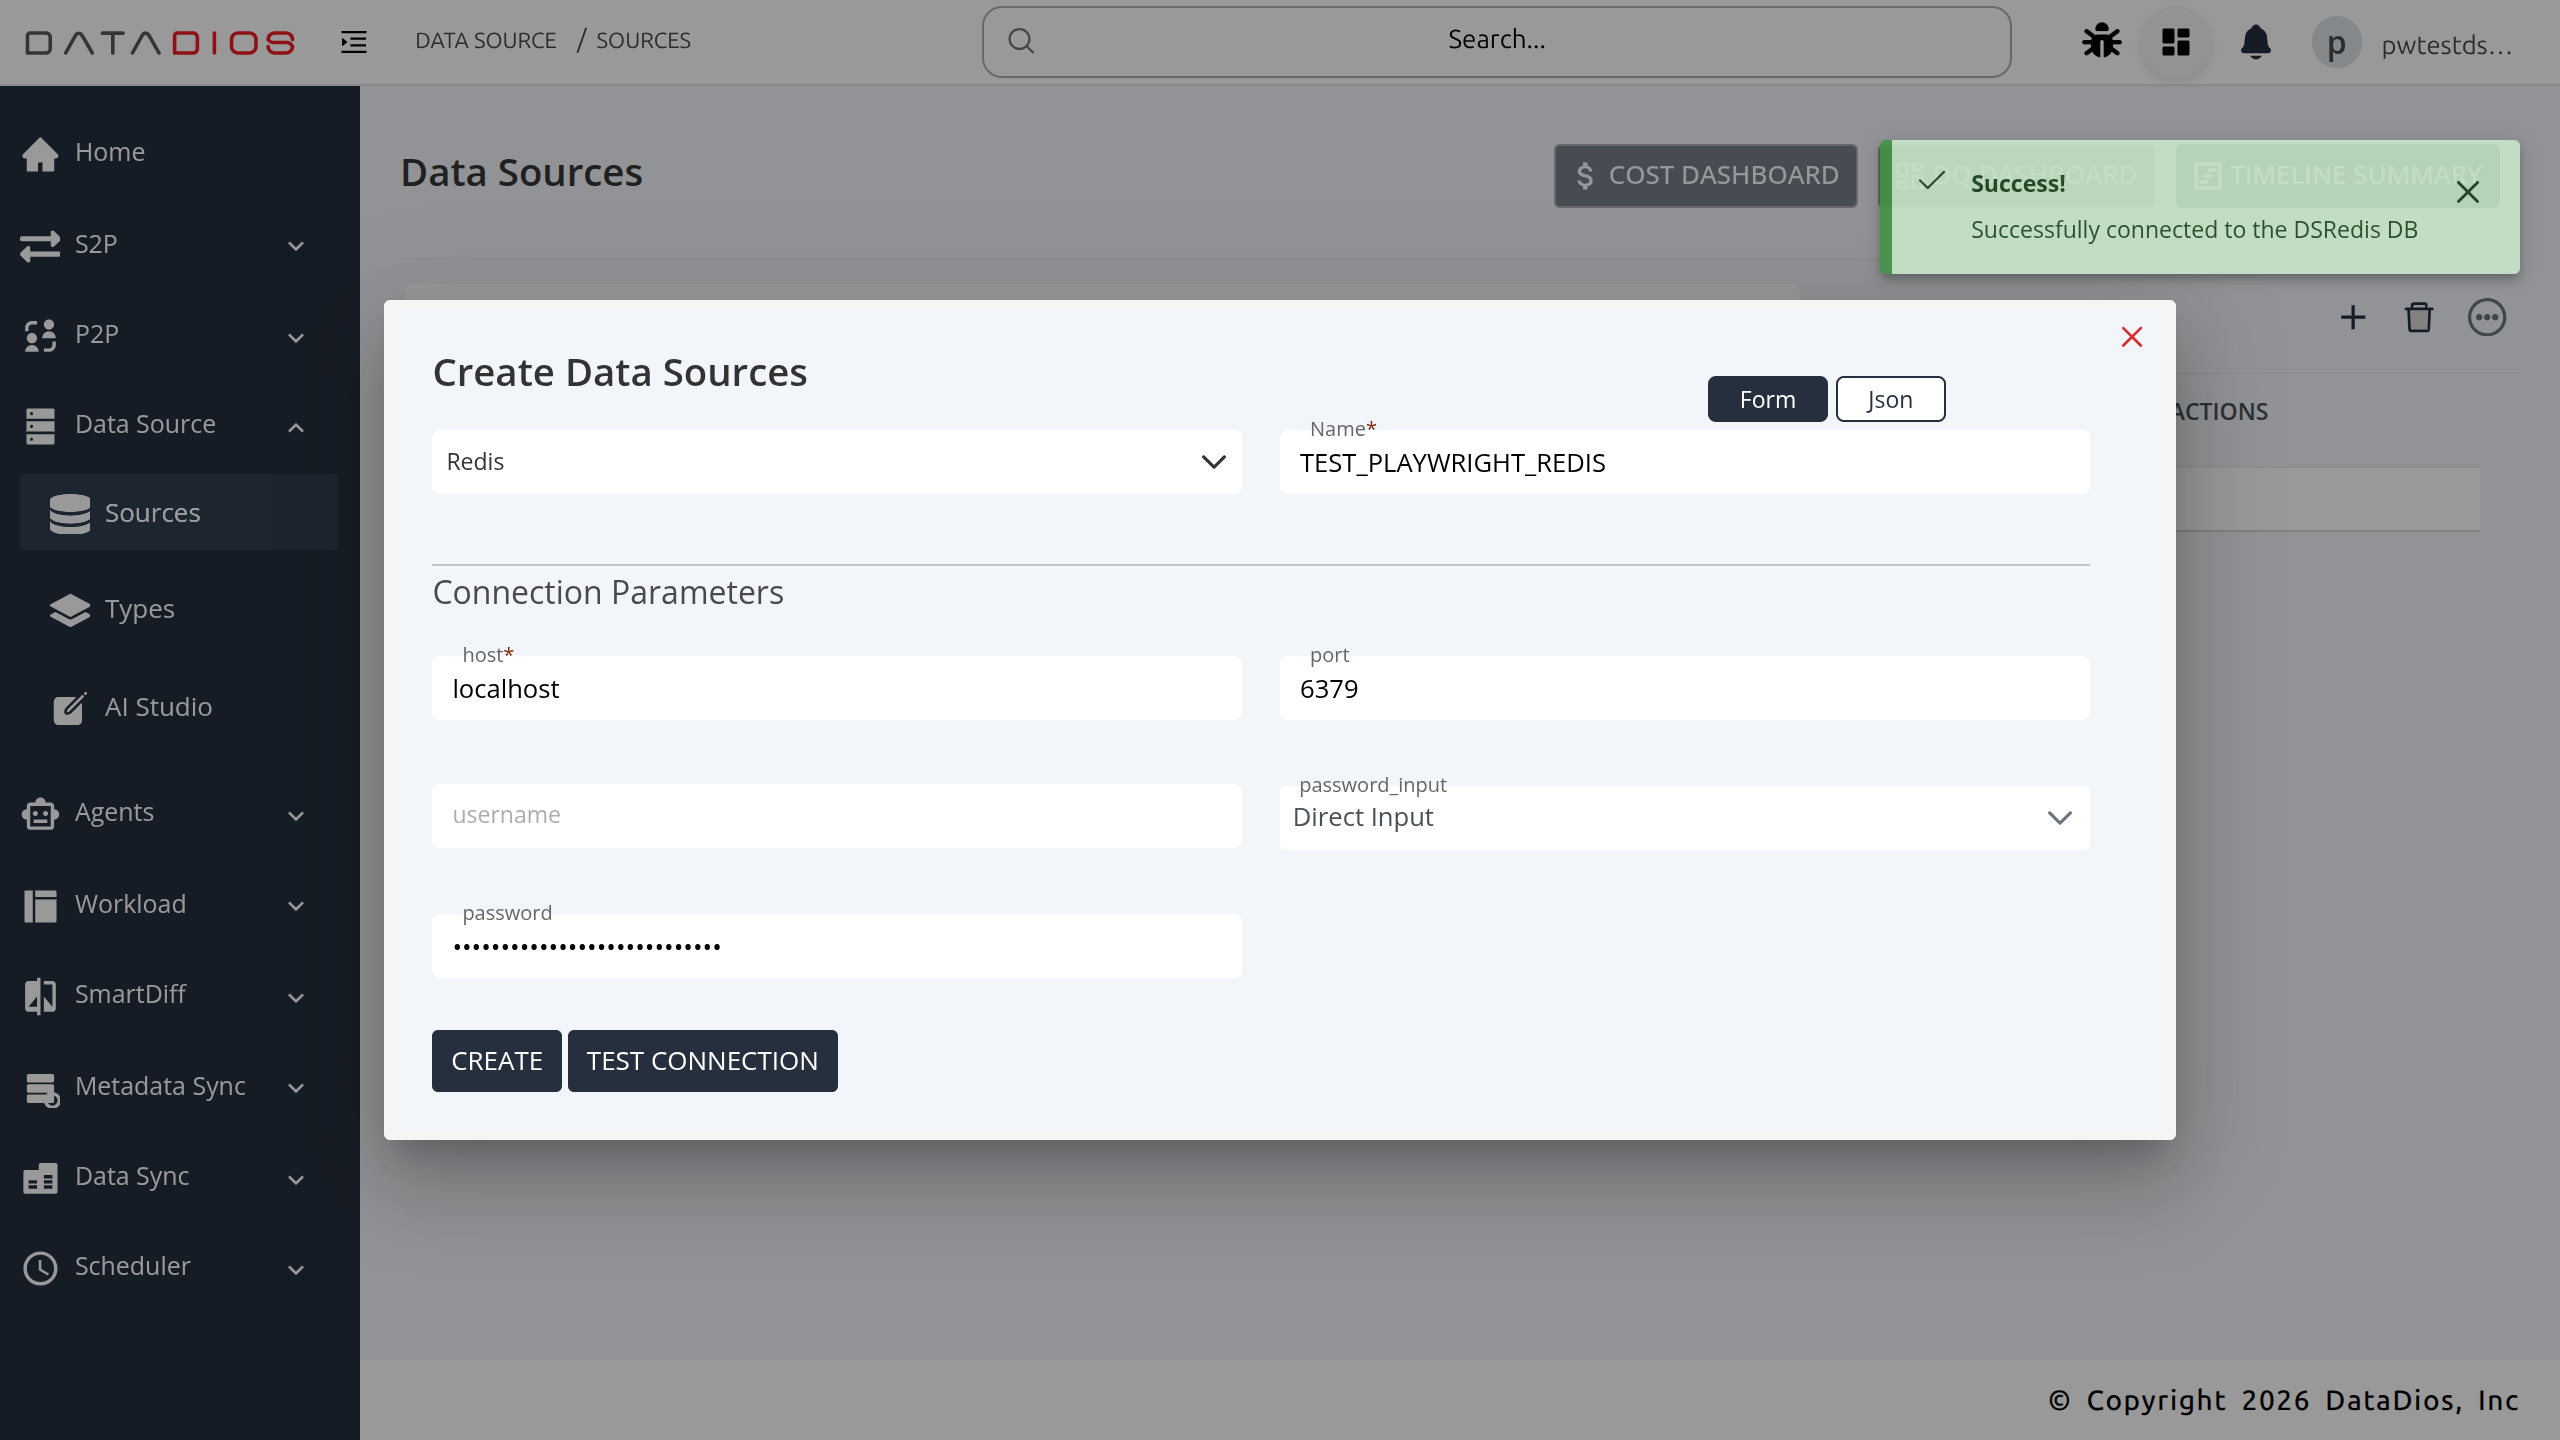
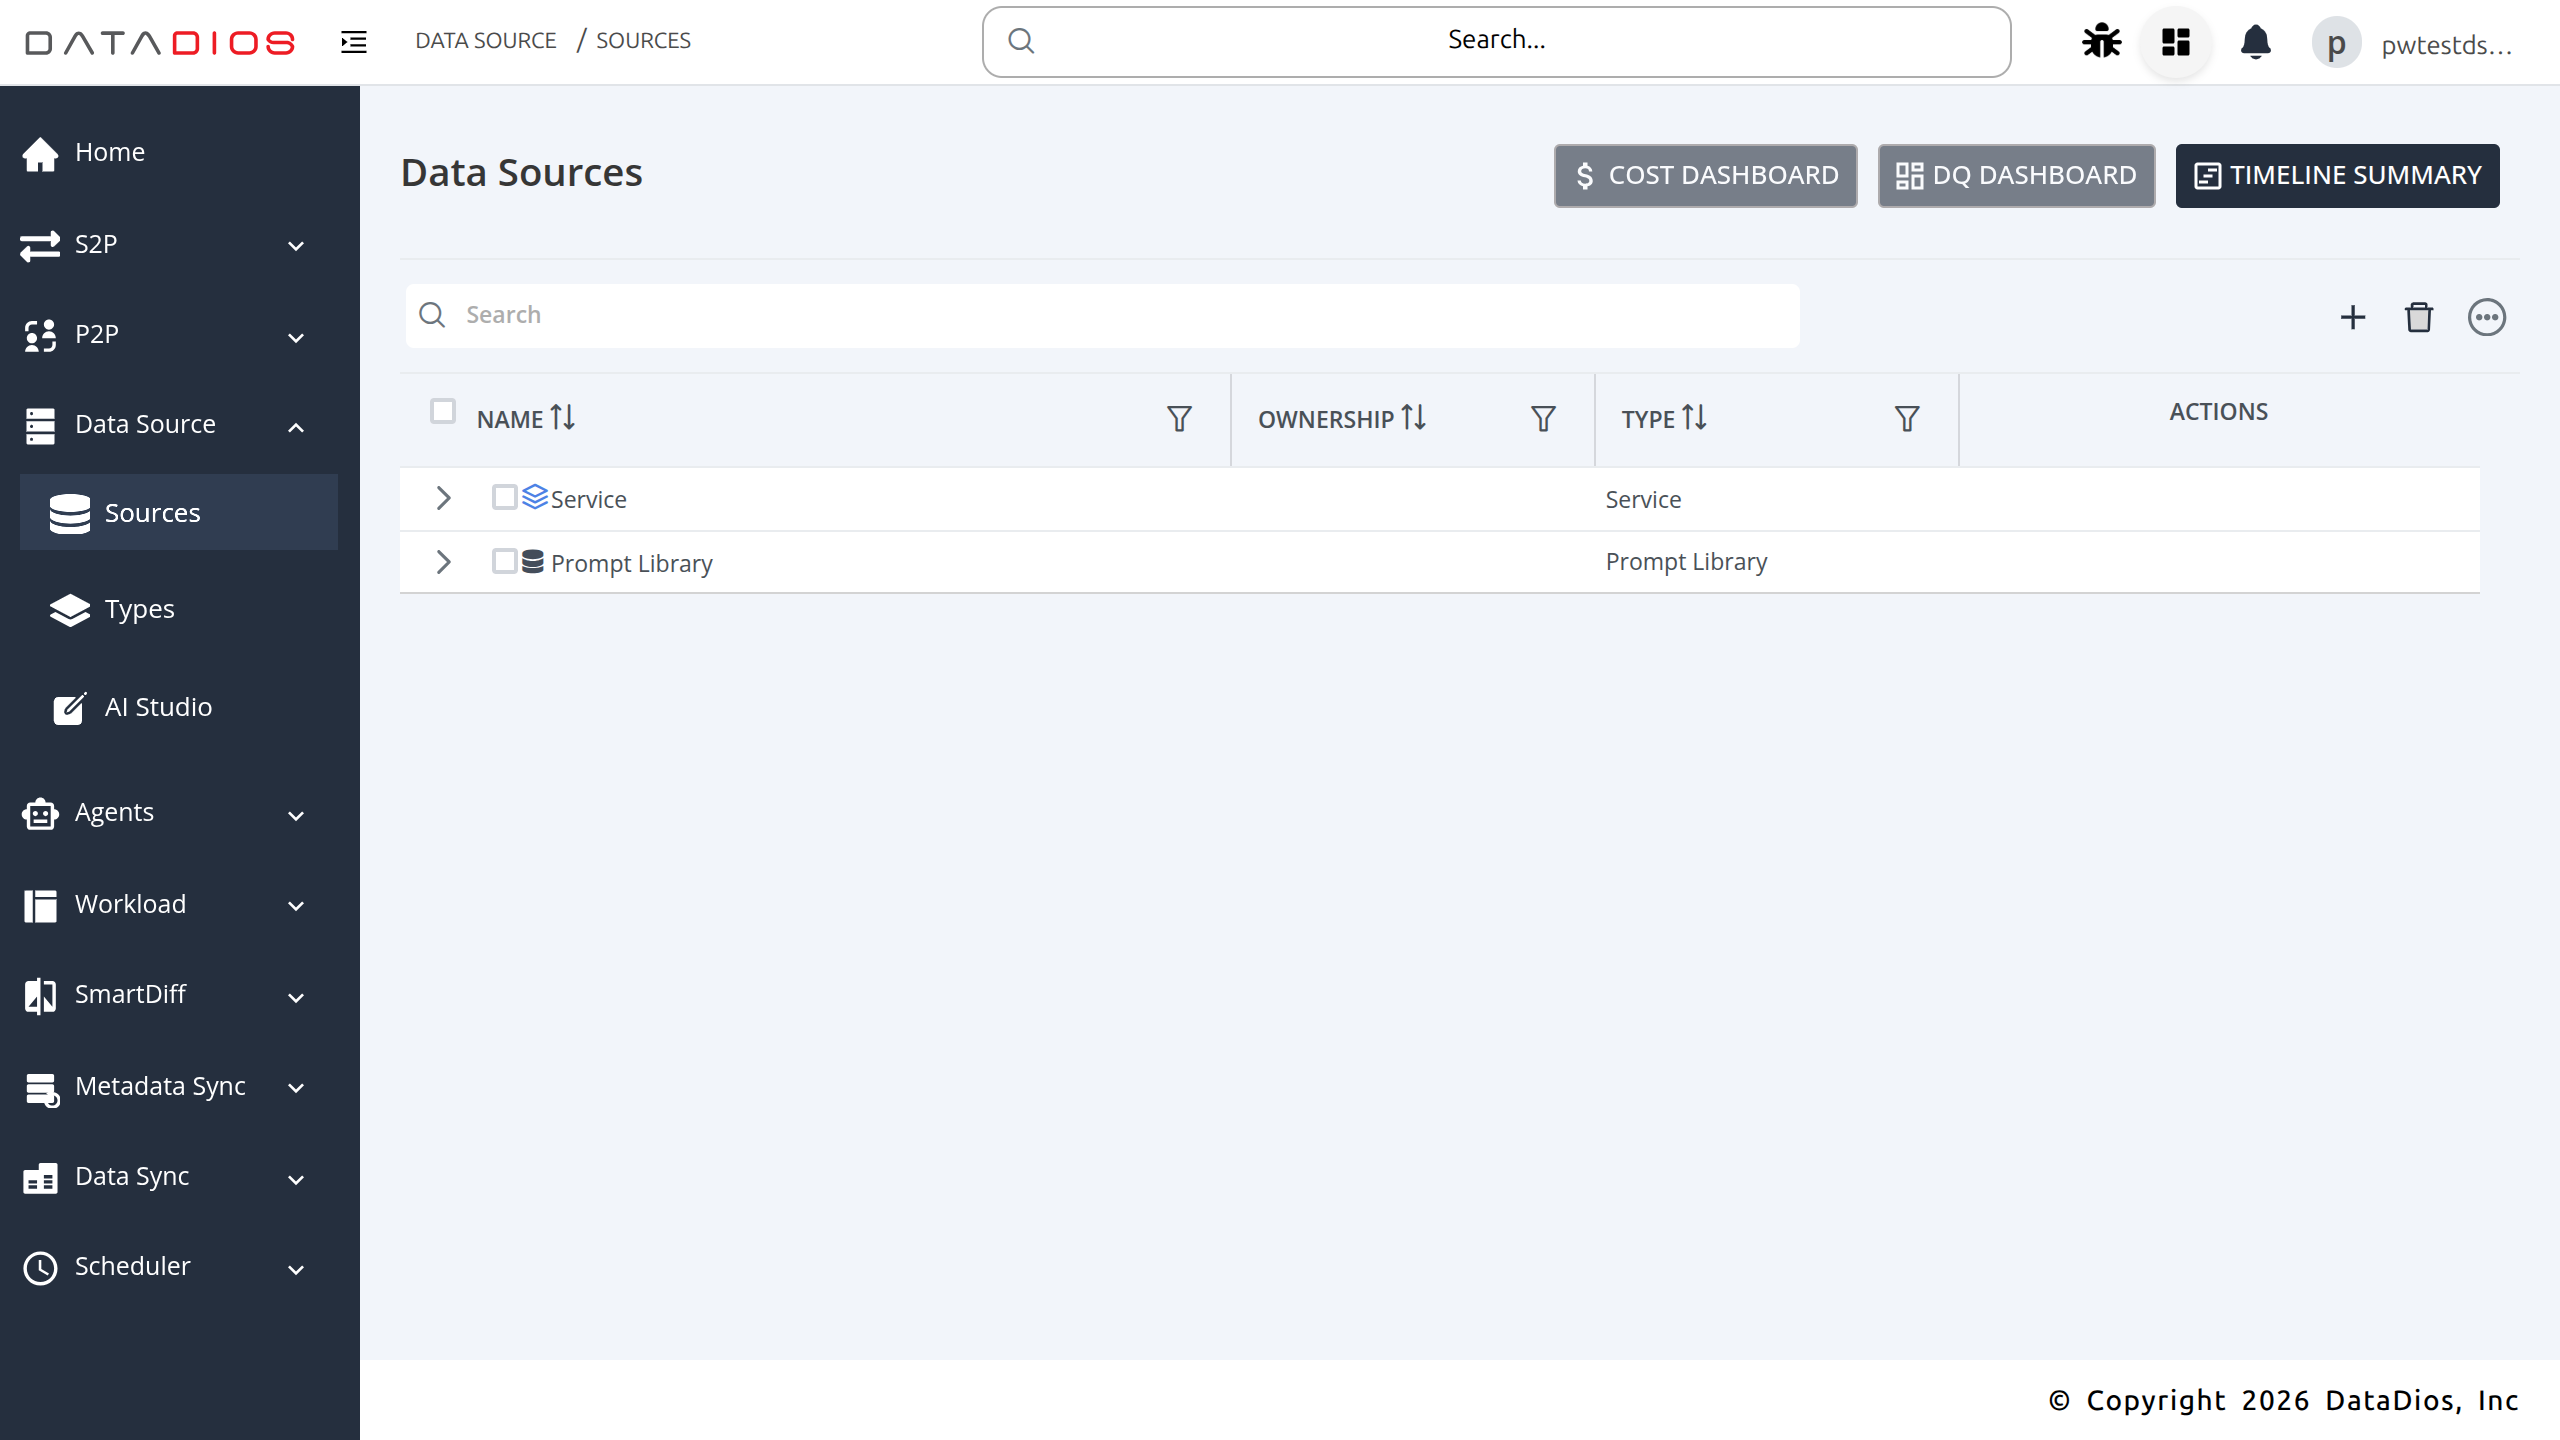
Step 5: Save Data Source
-
If the test is successful, click Create to save the data source
-
You will be redirected to the Datasource Listing Page, where your Redis data source will appear
Step 6: Explore and Create Redis Keys
Click View Details on the Redis data source to open the key management page.
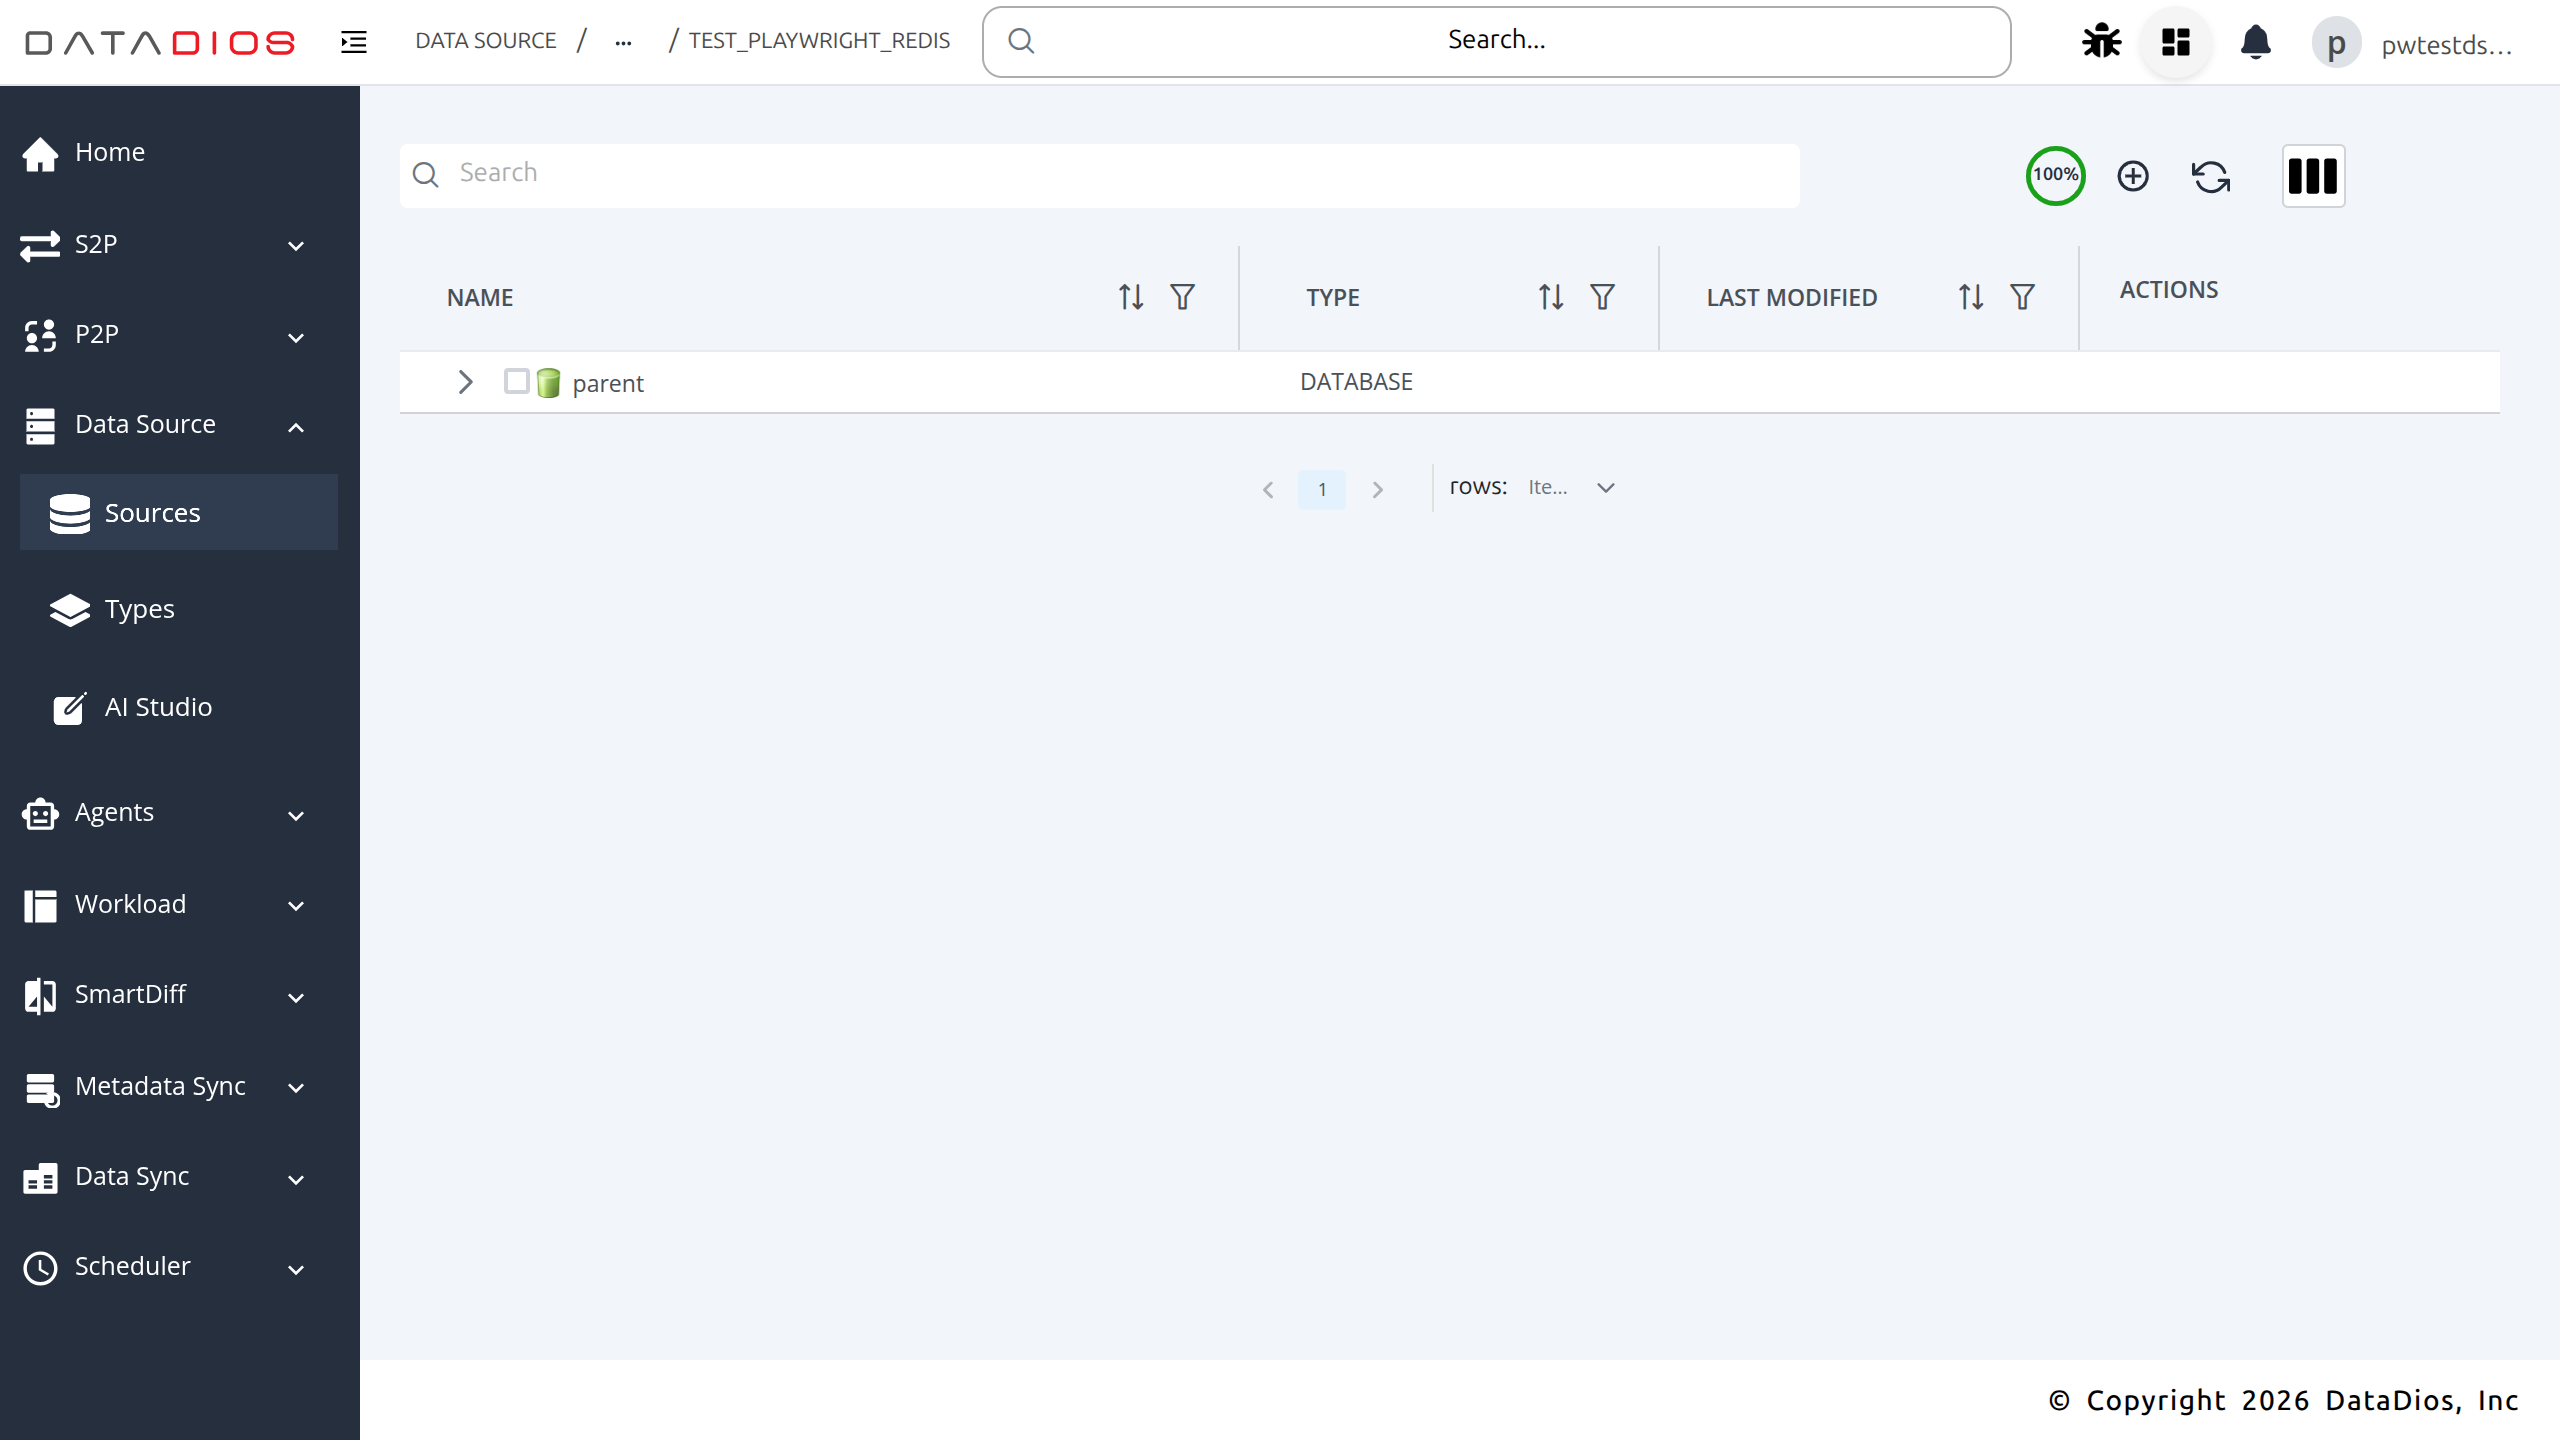
DataDios supports creating four Redis key types. Click + Create Item to open the creation form for each.
STRING Key
Stores a single string value. Optionally set a TTL (in seconds) for automatic expiry.

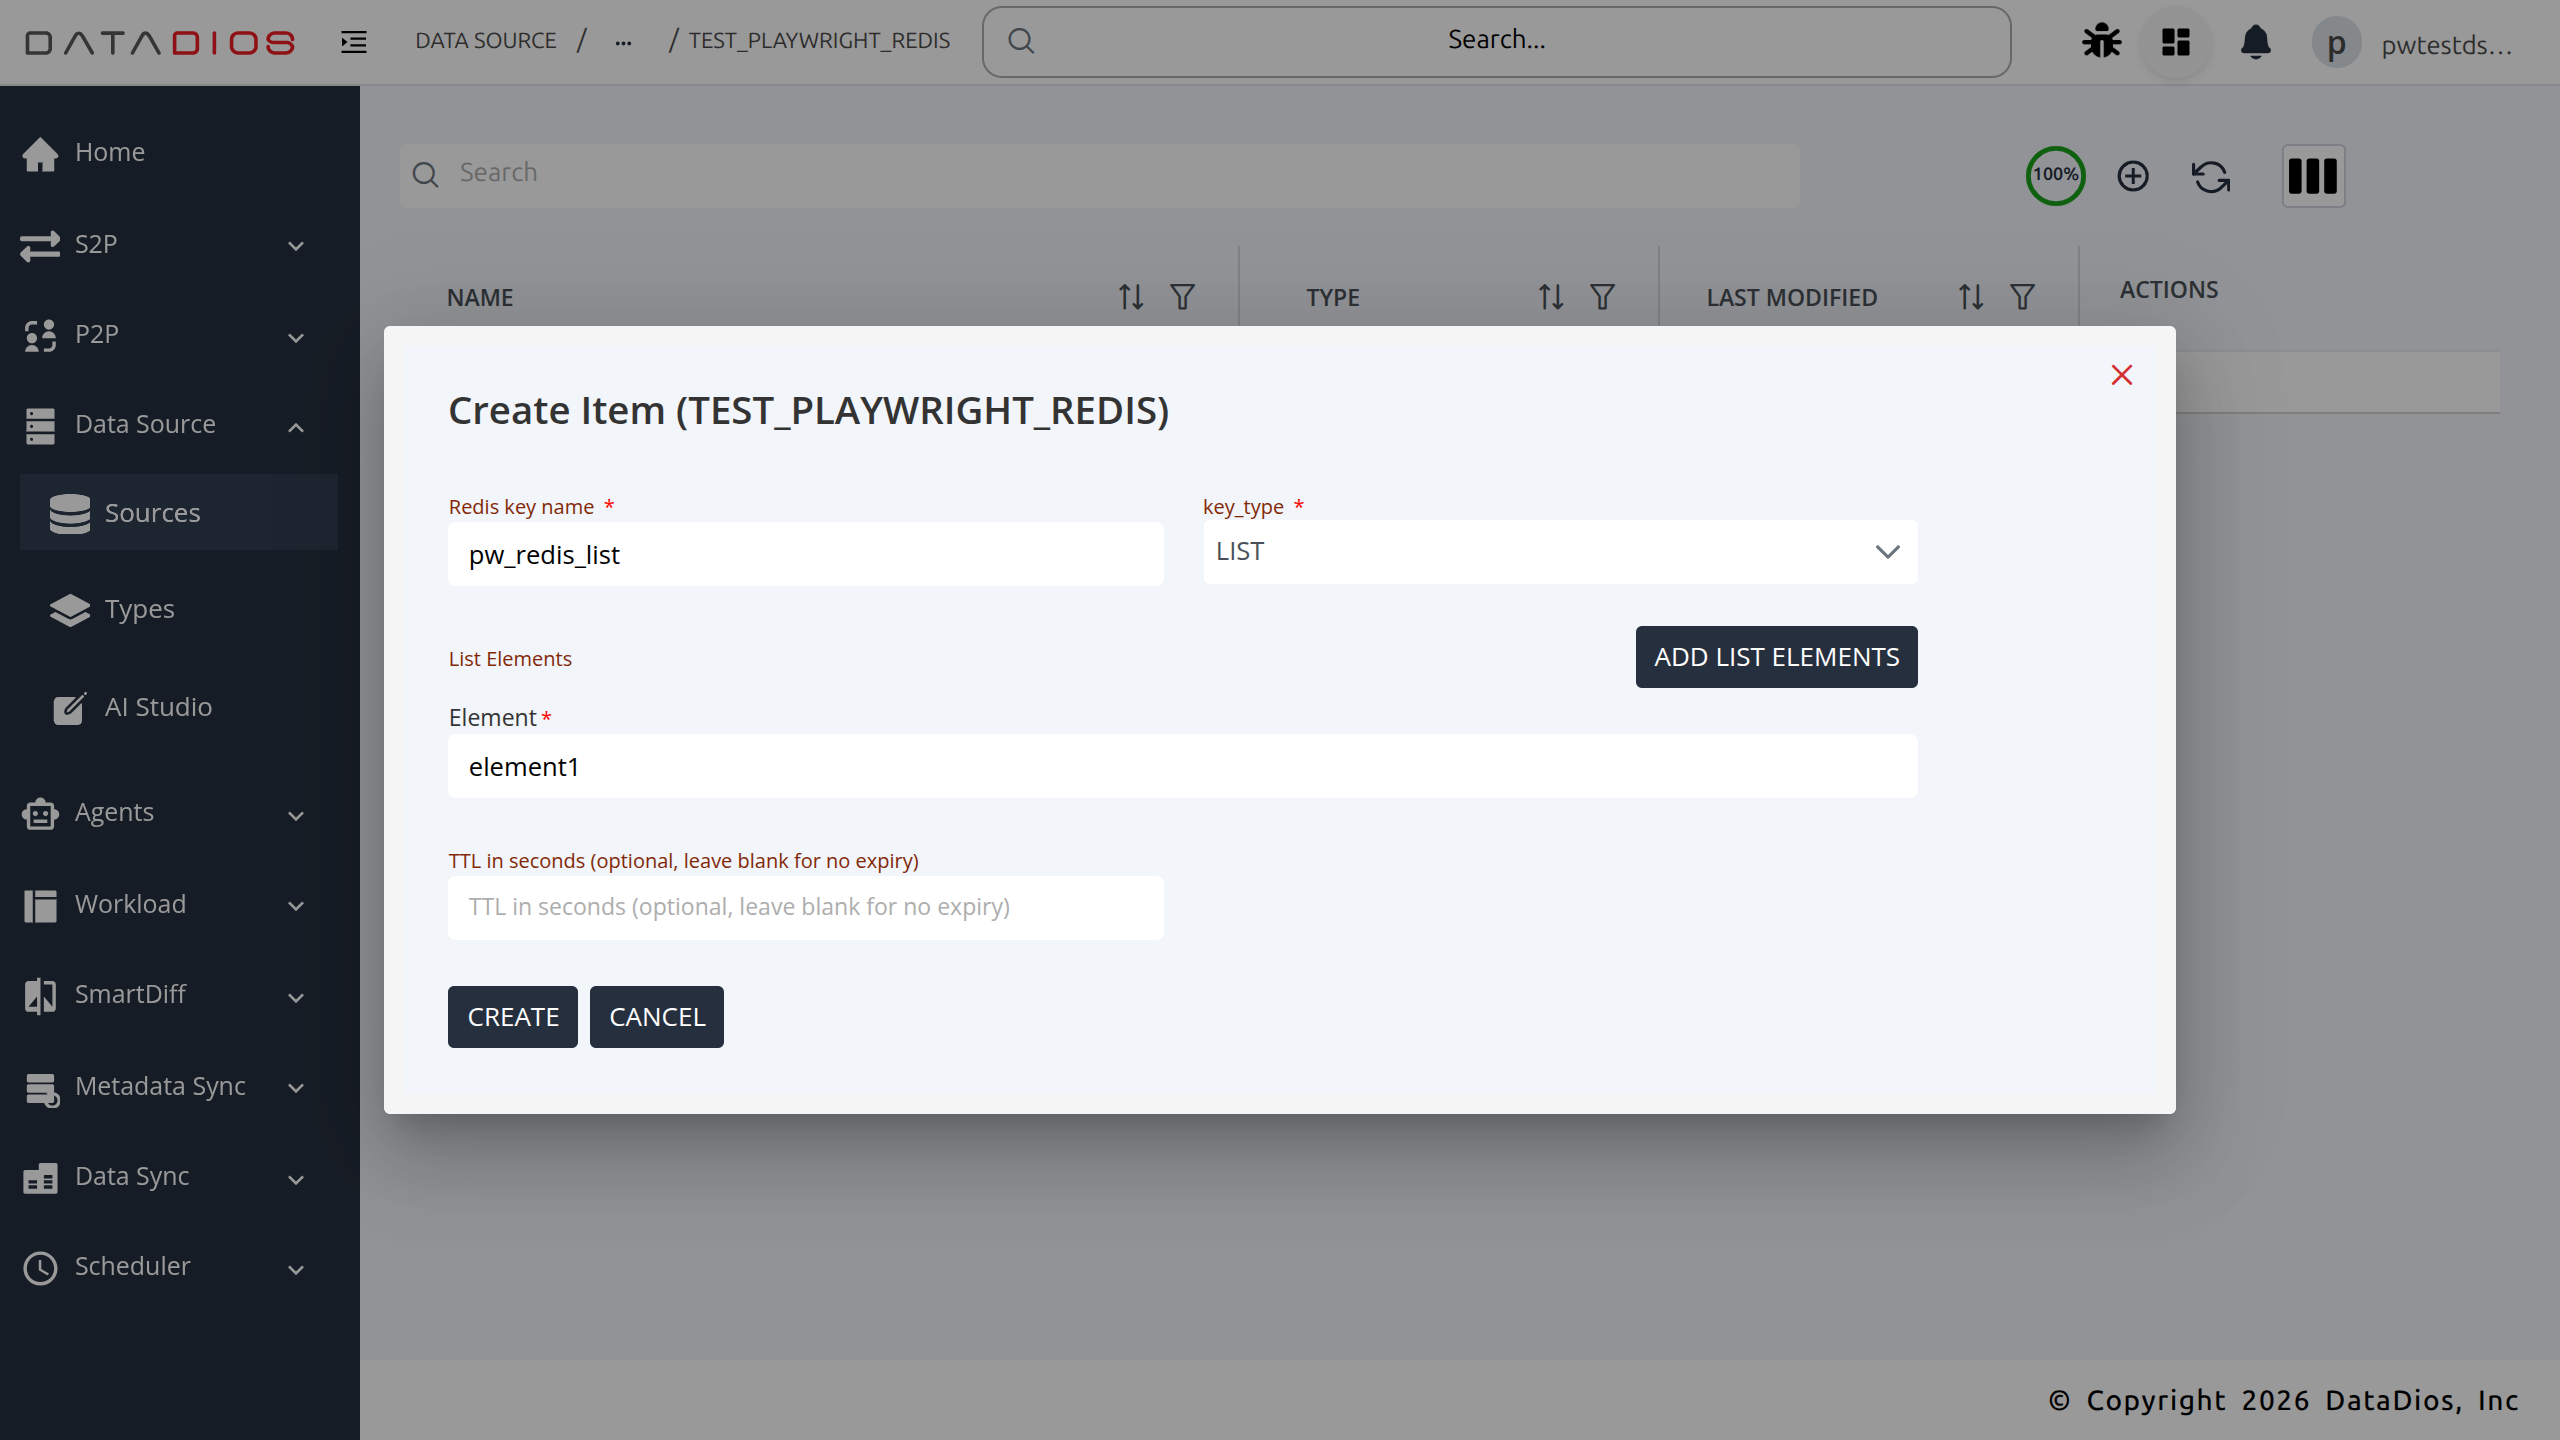
LIST Key
Stores an ordered list of string elements. Add one or more elements in the form.
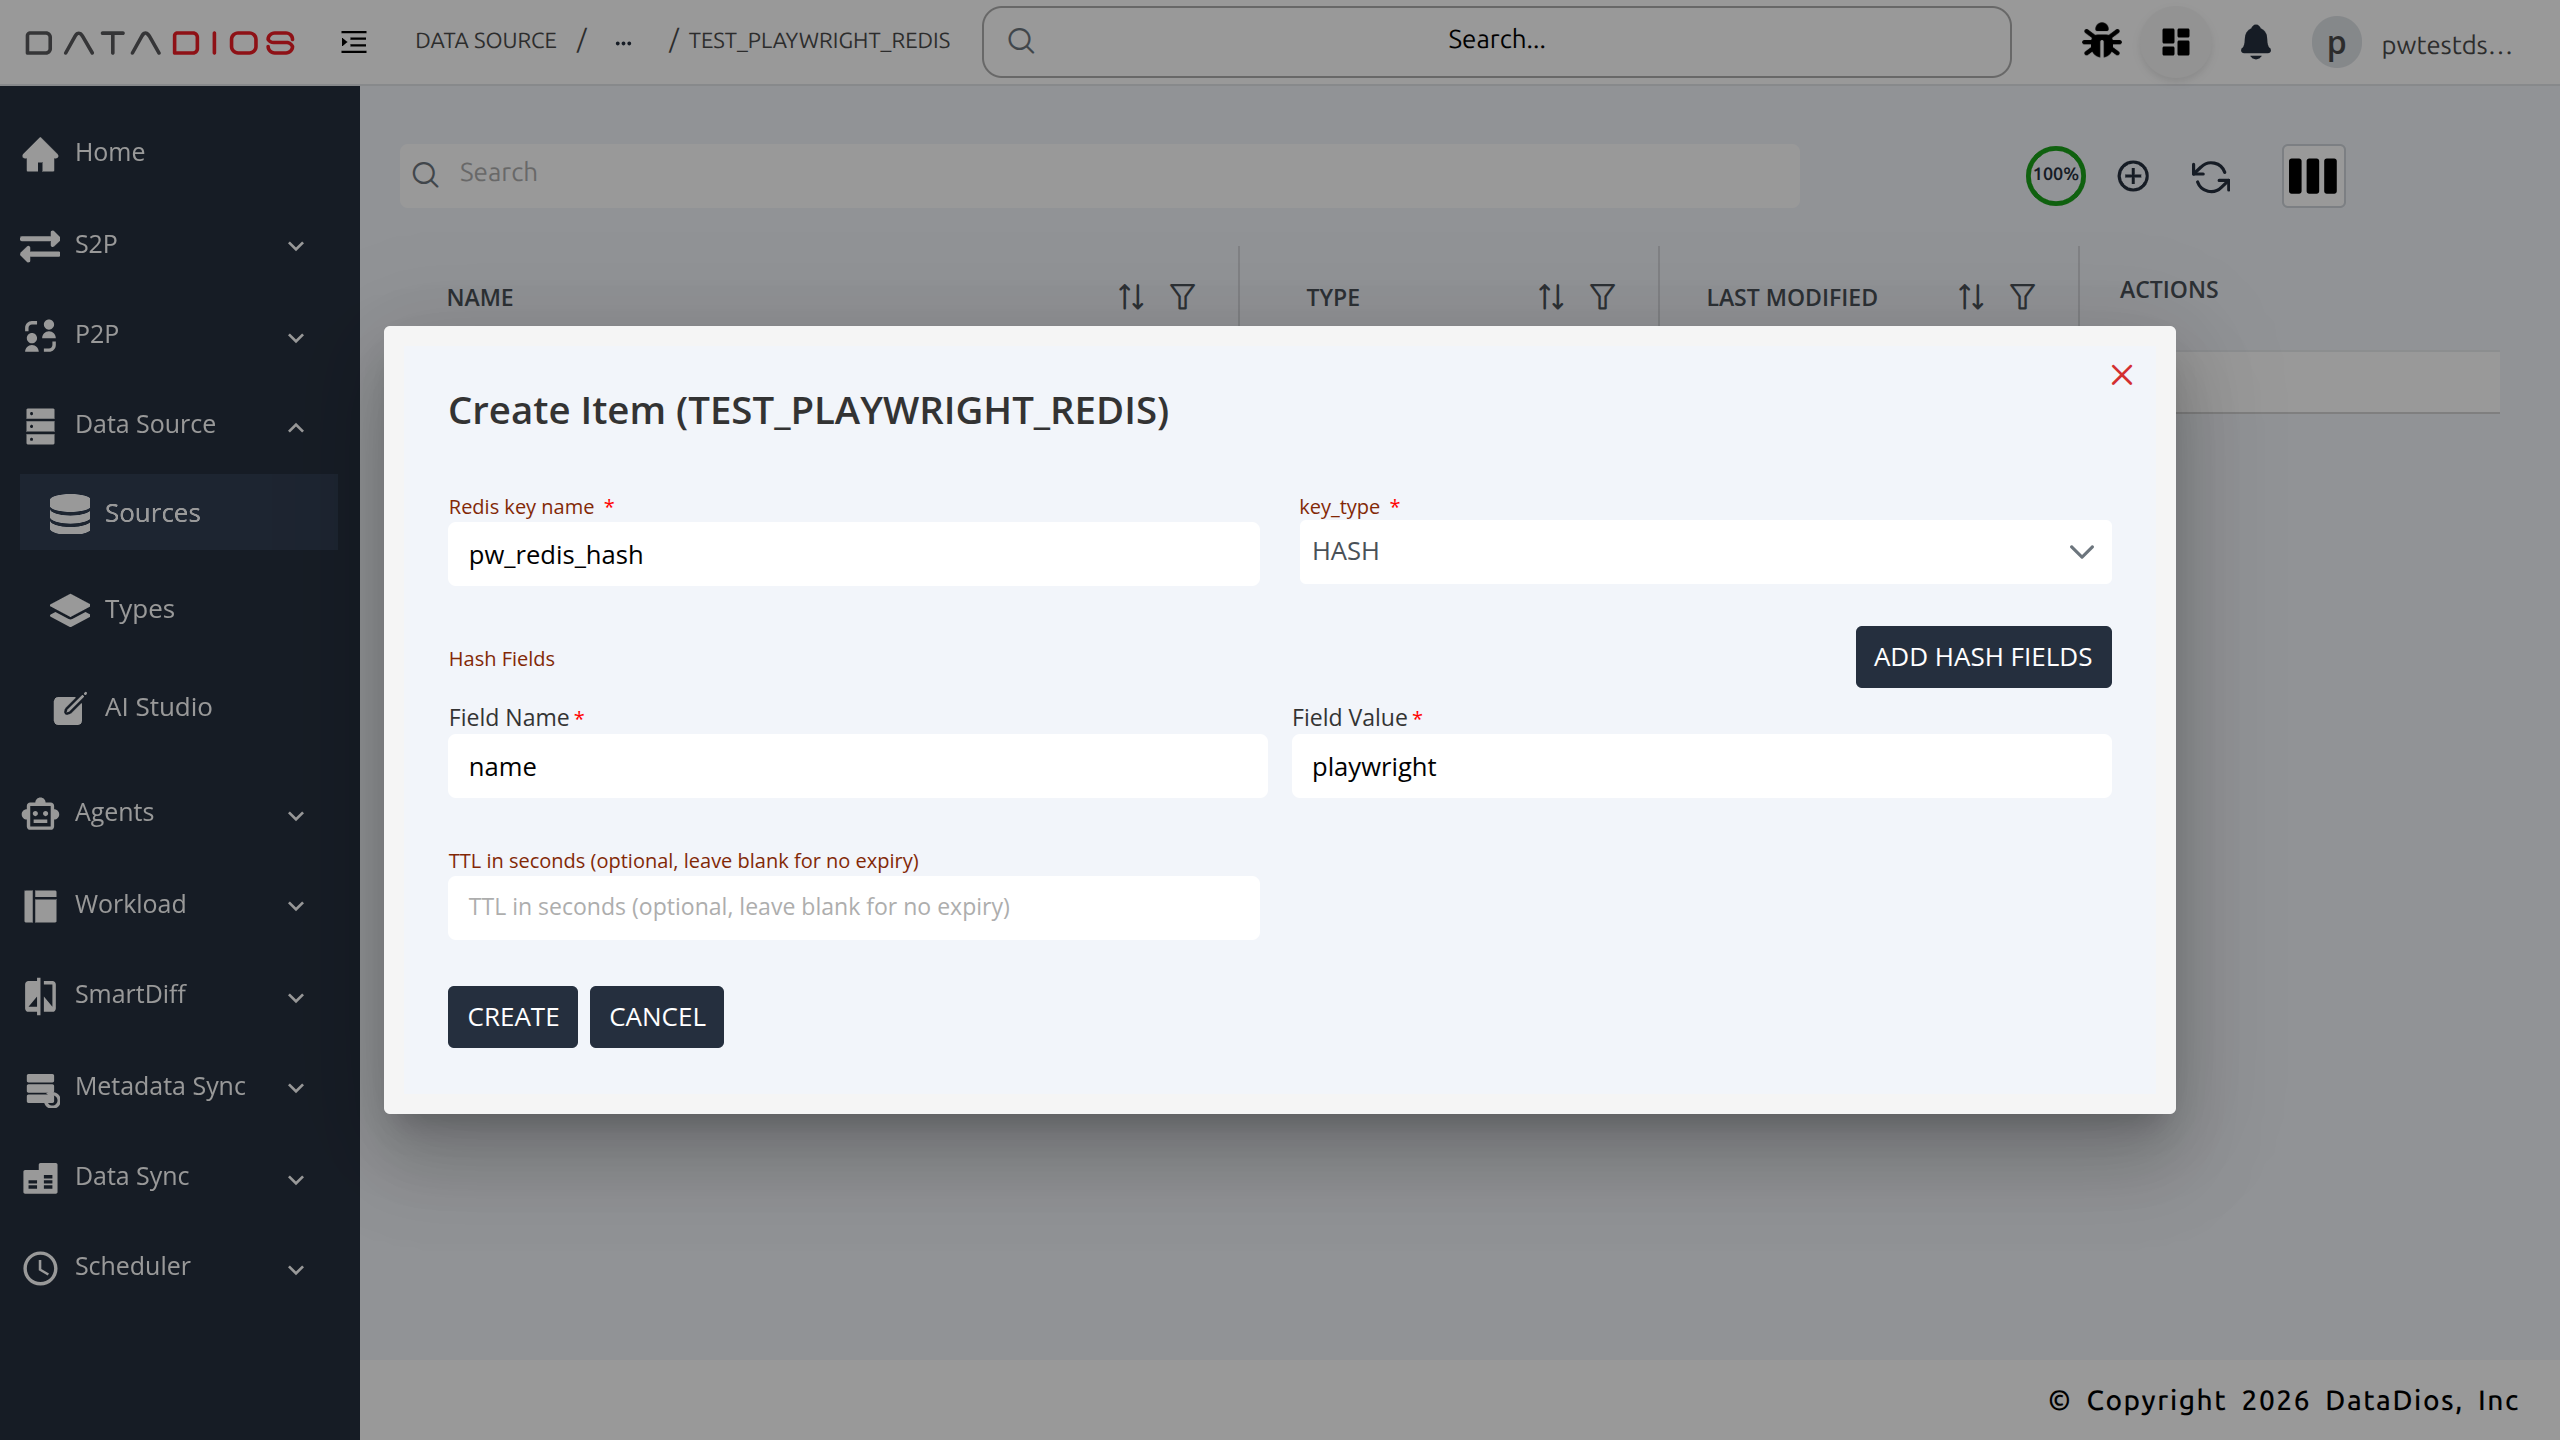
HASH Key
Stores a map of field-value pairs. Add one or more field/value pairs in the form.
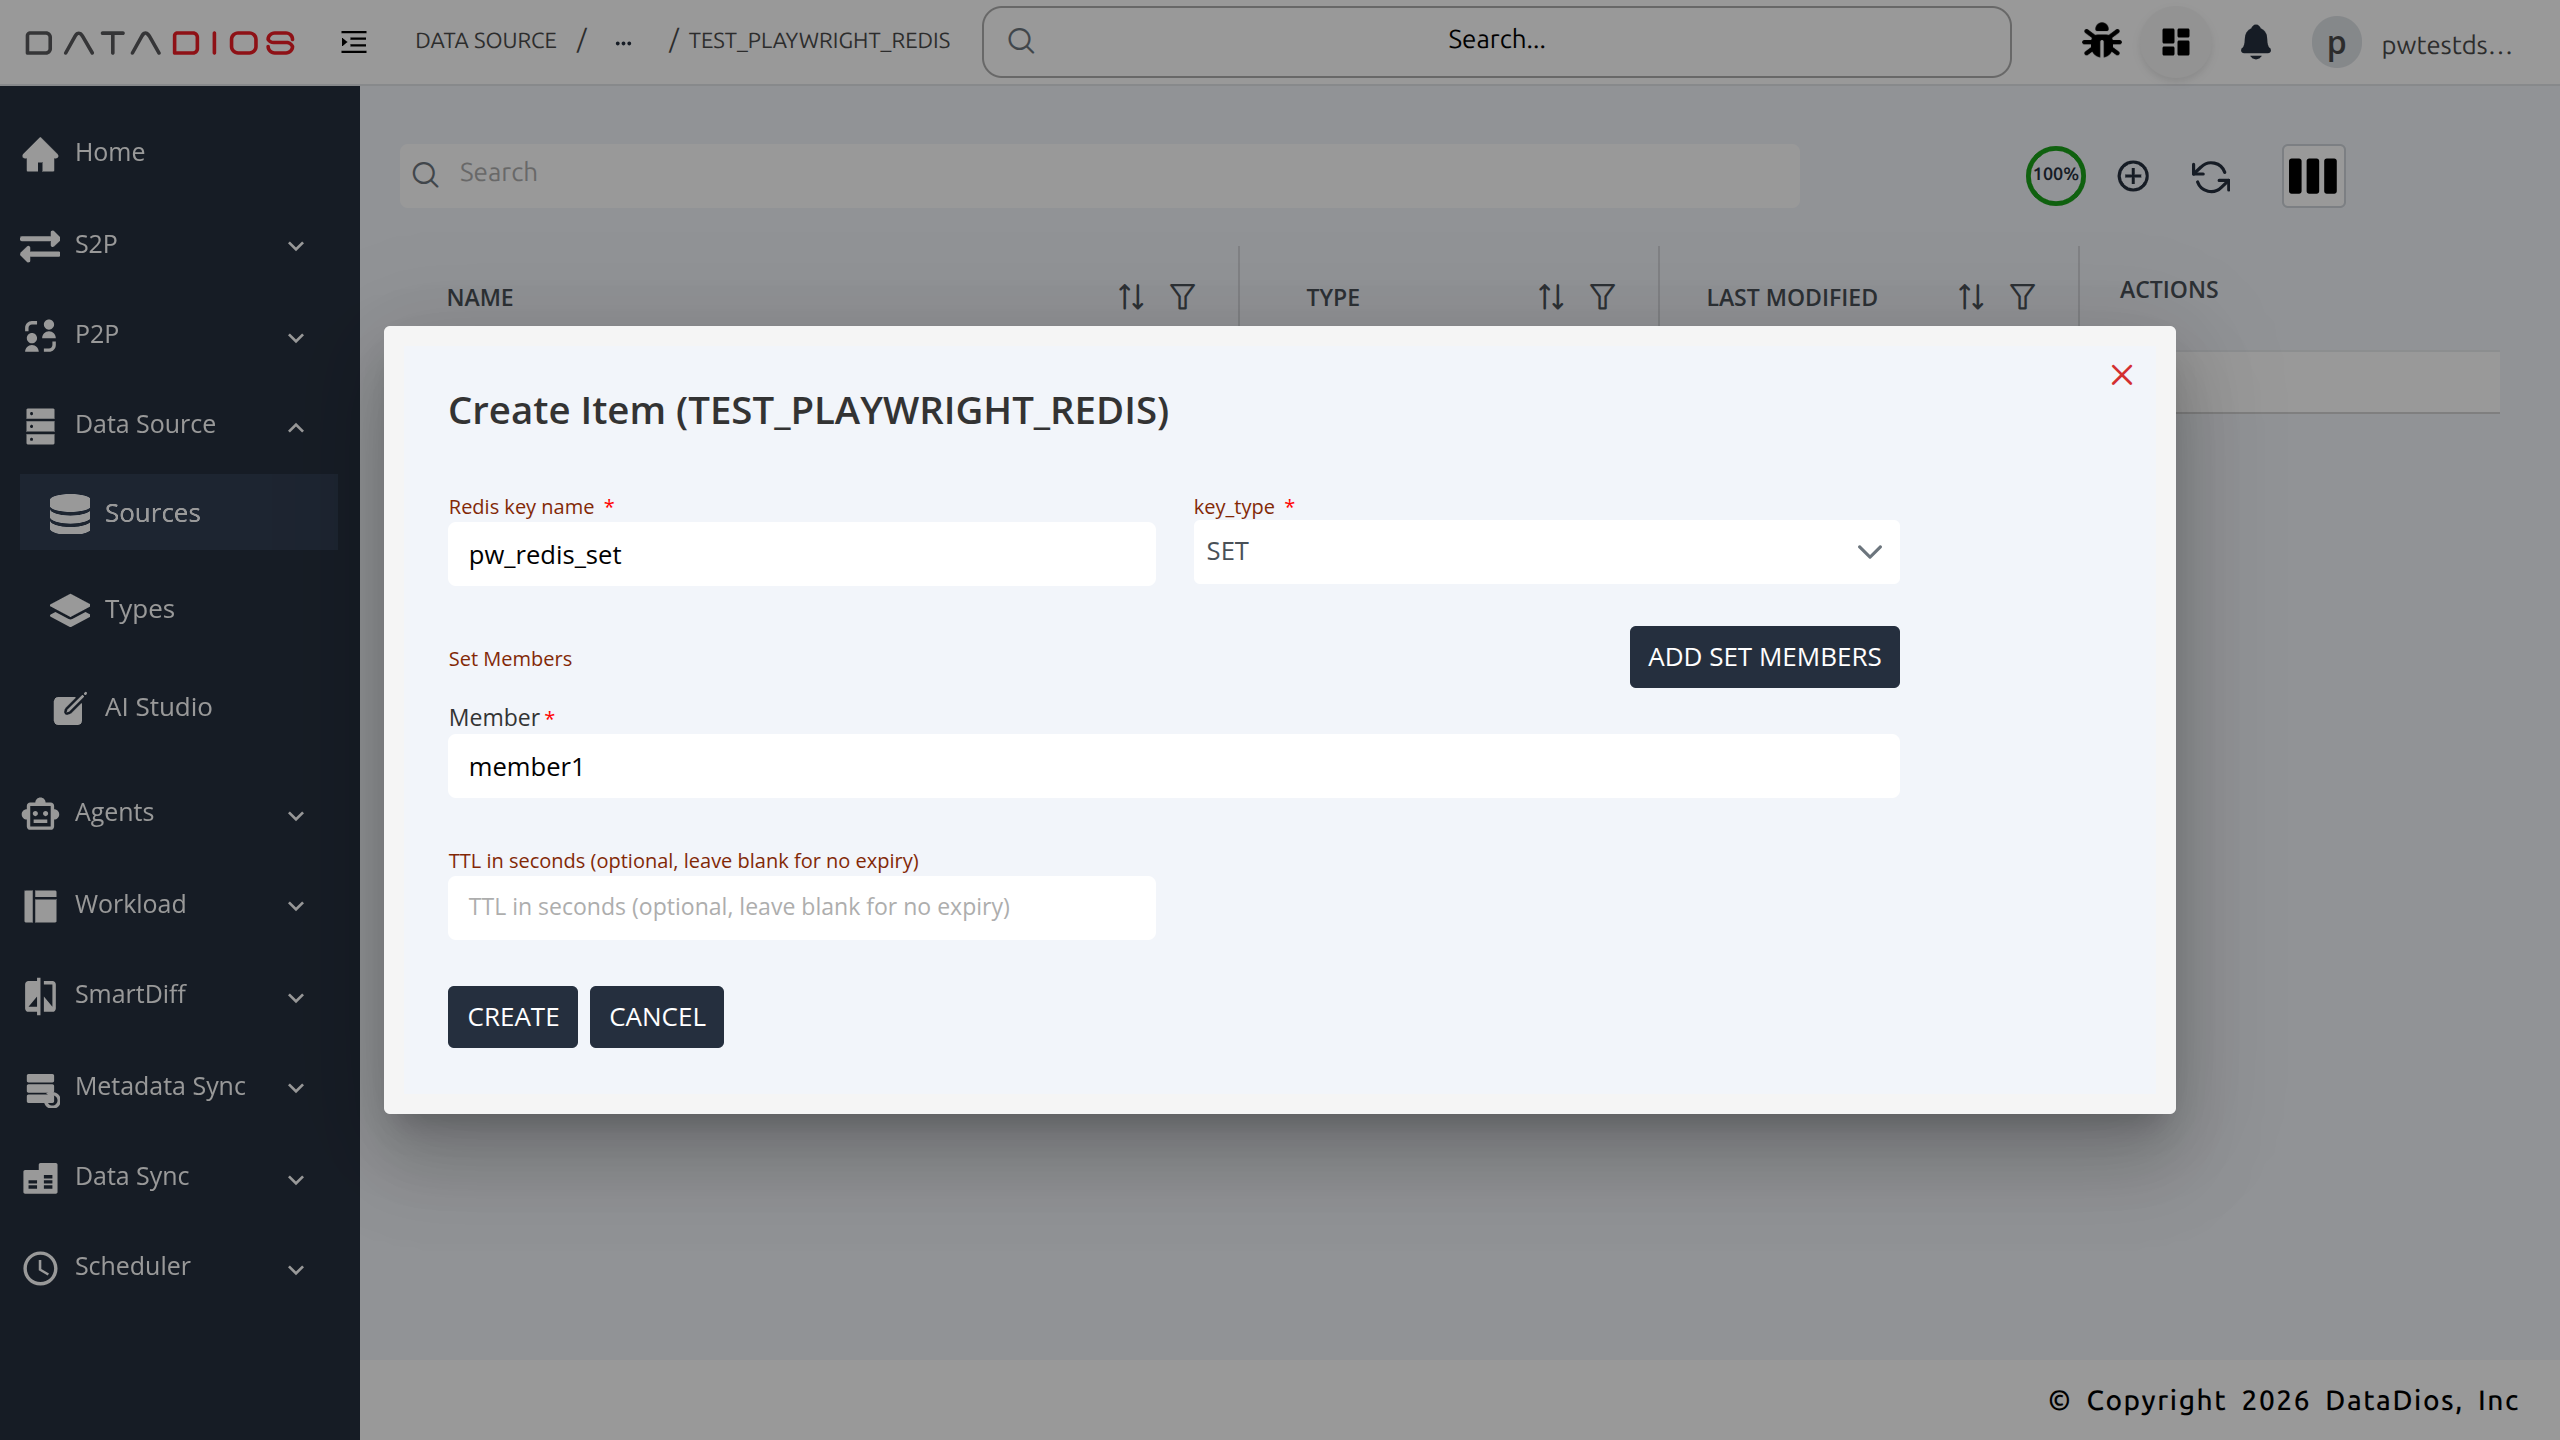
SET Key
Stores an unordered collection of unique string members. Add one or more members in the form.
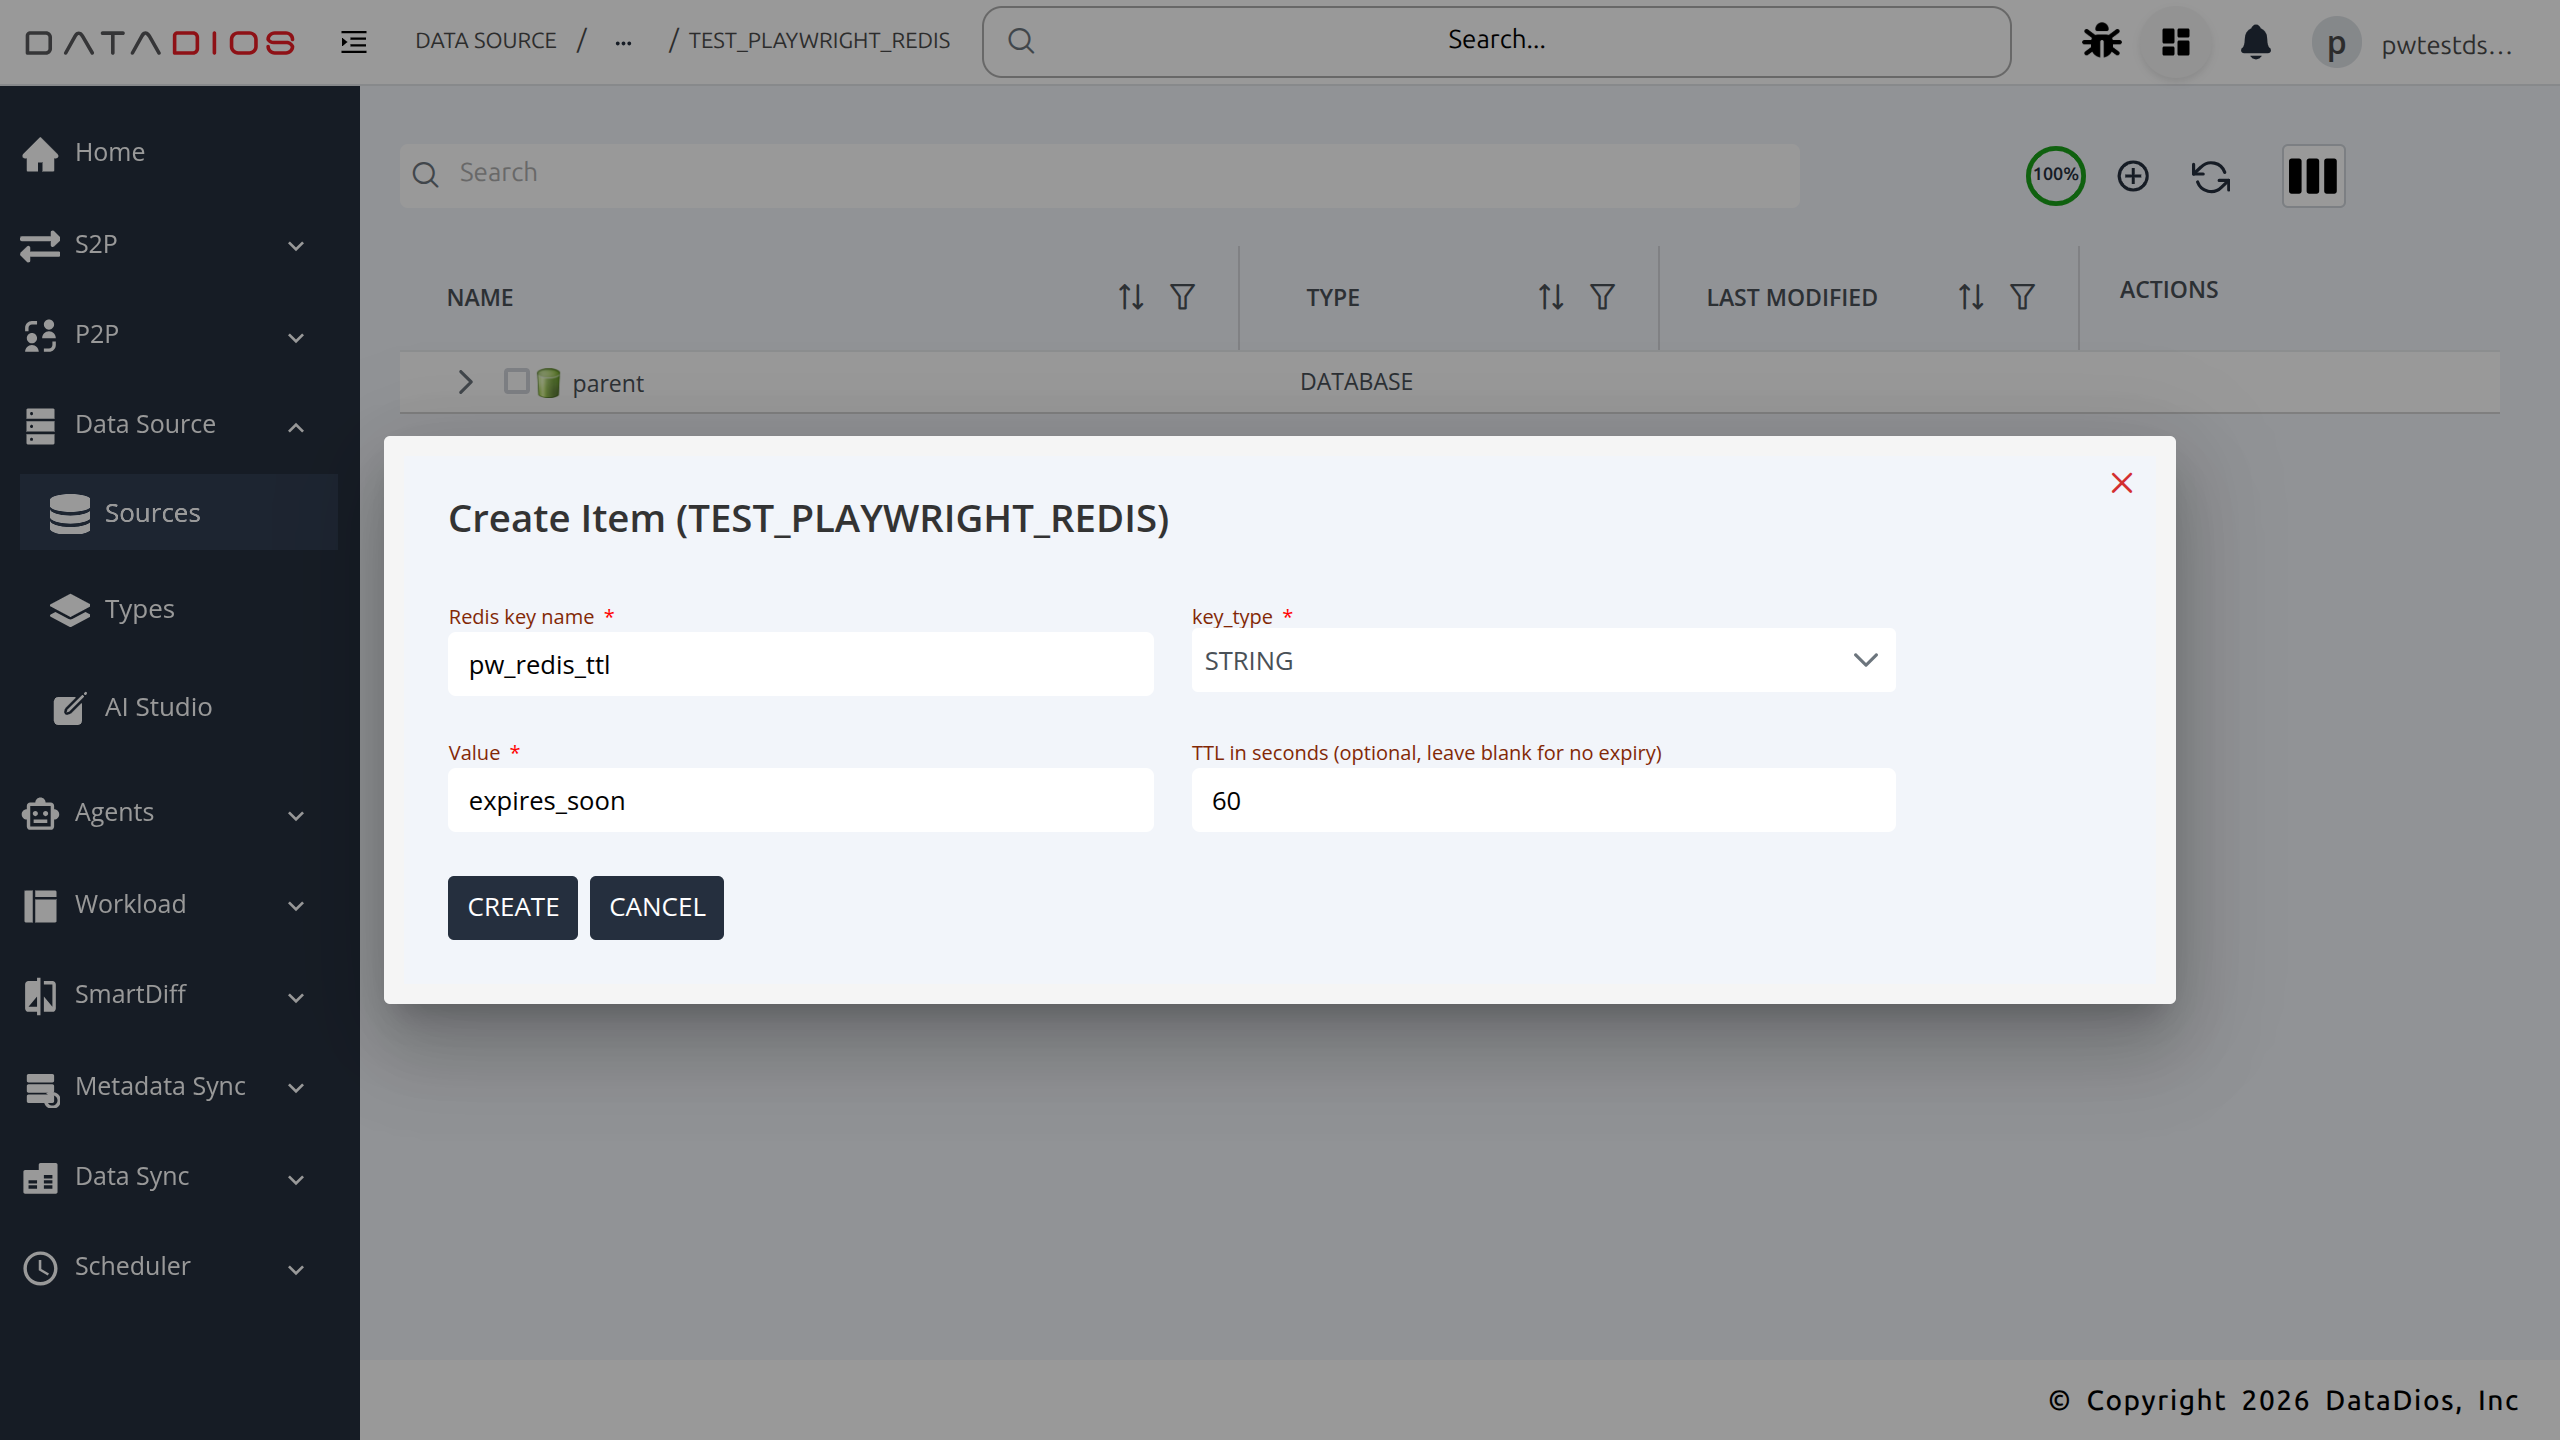
STRING Key with TTL
To demonstrate TTL-based expiry, create a STRING key with a TTL value (e.g., 60 seconds). The key will automatically be deleted by Redis after the TTL elapses.
Step 7: Verify All Keys
After creating all keys, click Refresh to load the latest key list from Redis. All created keys appear in the listing.
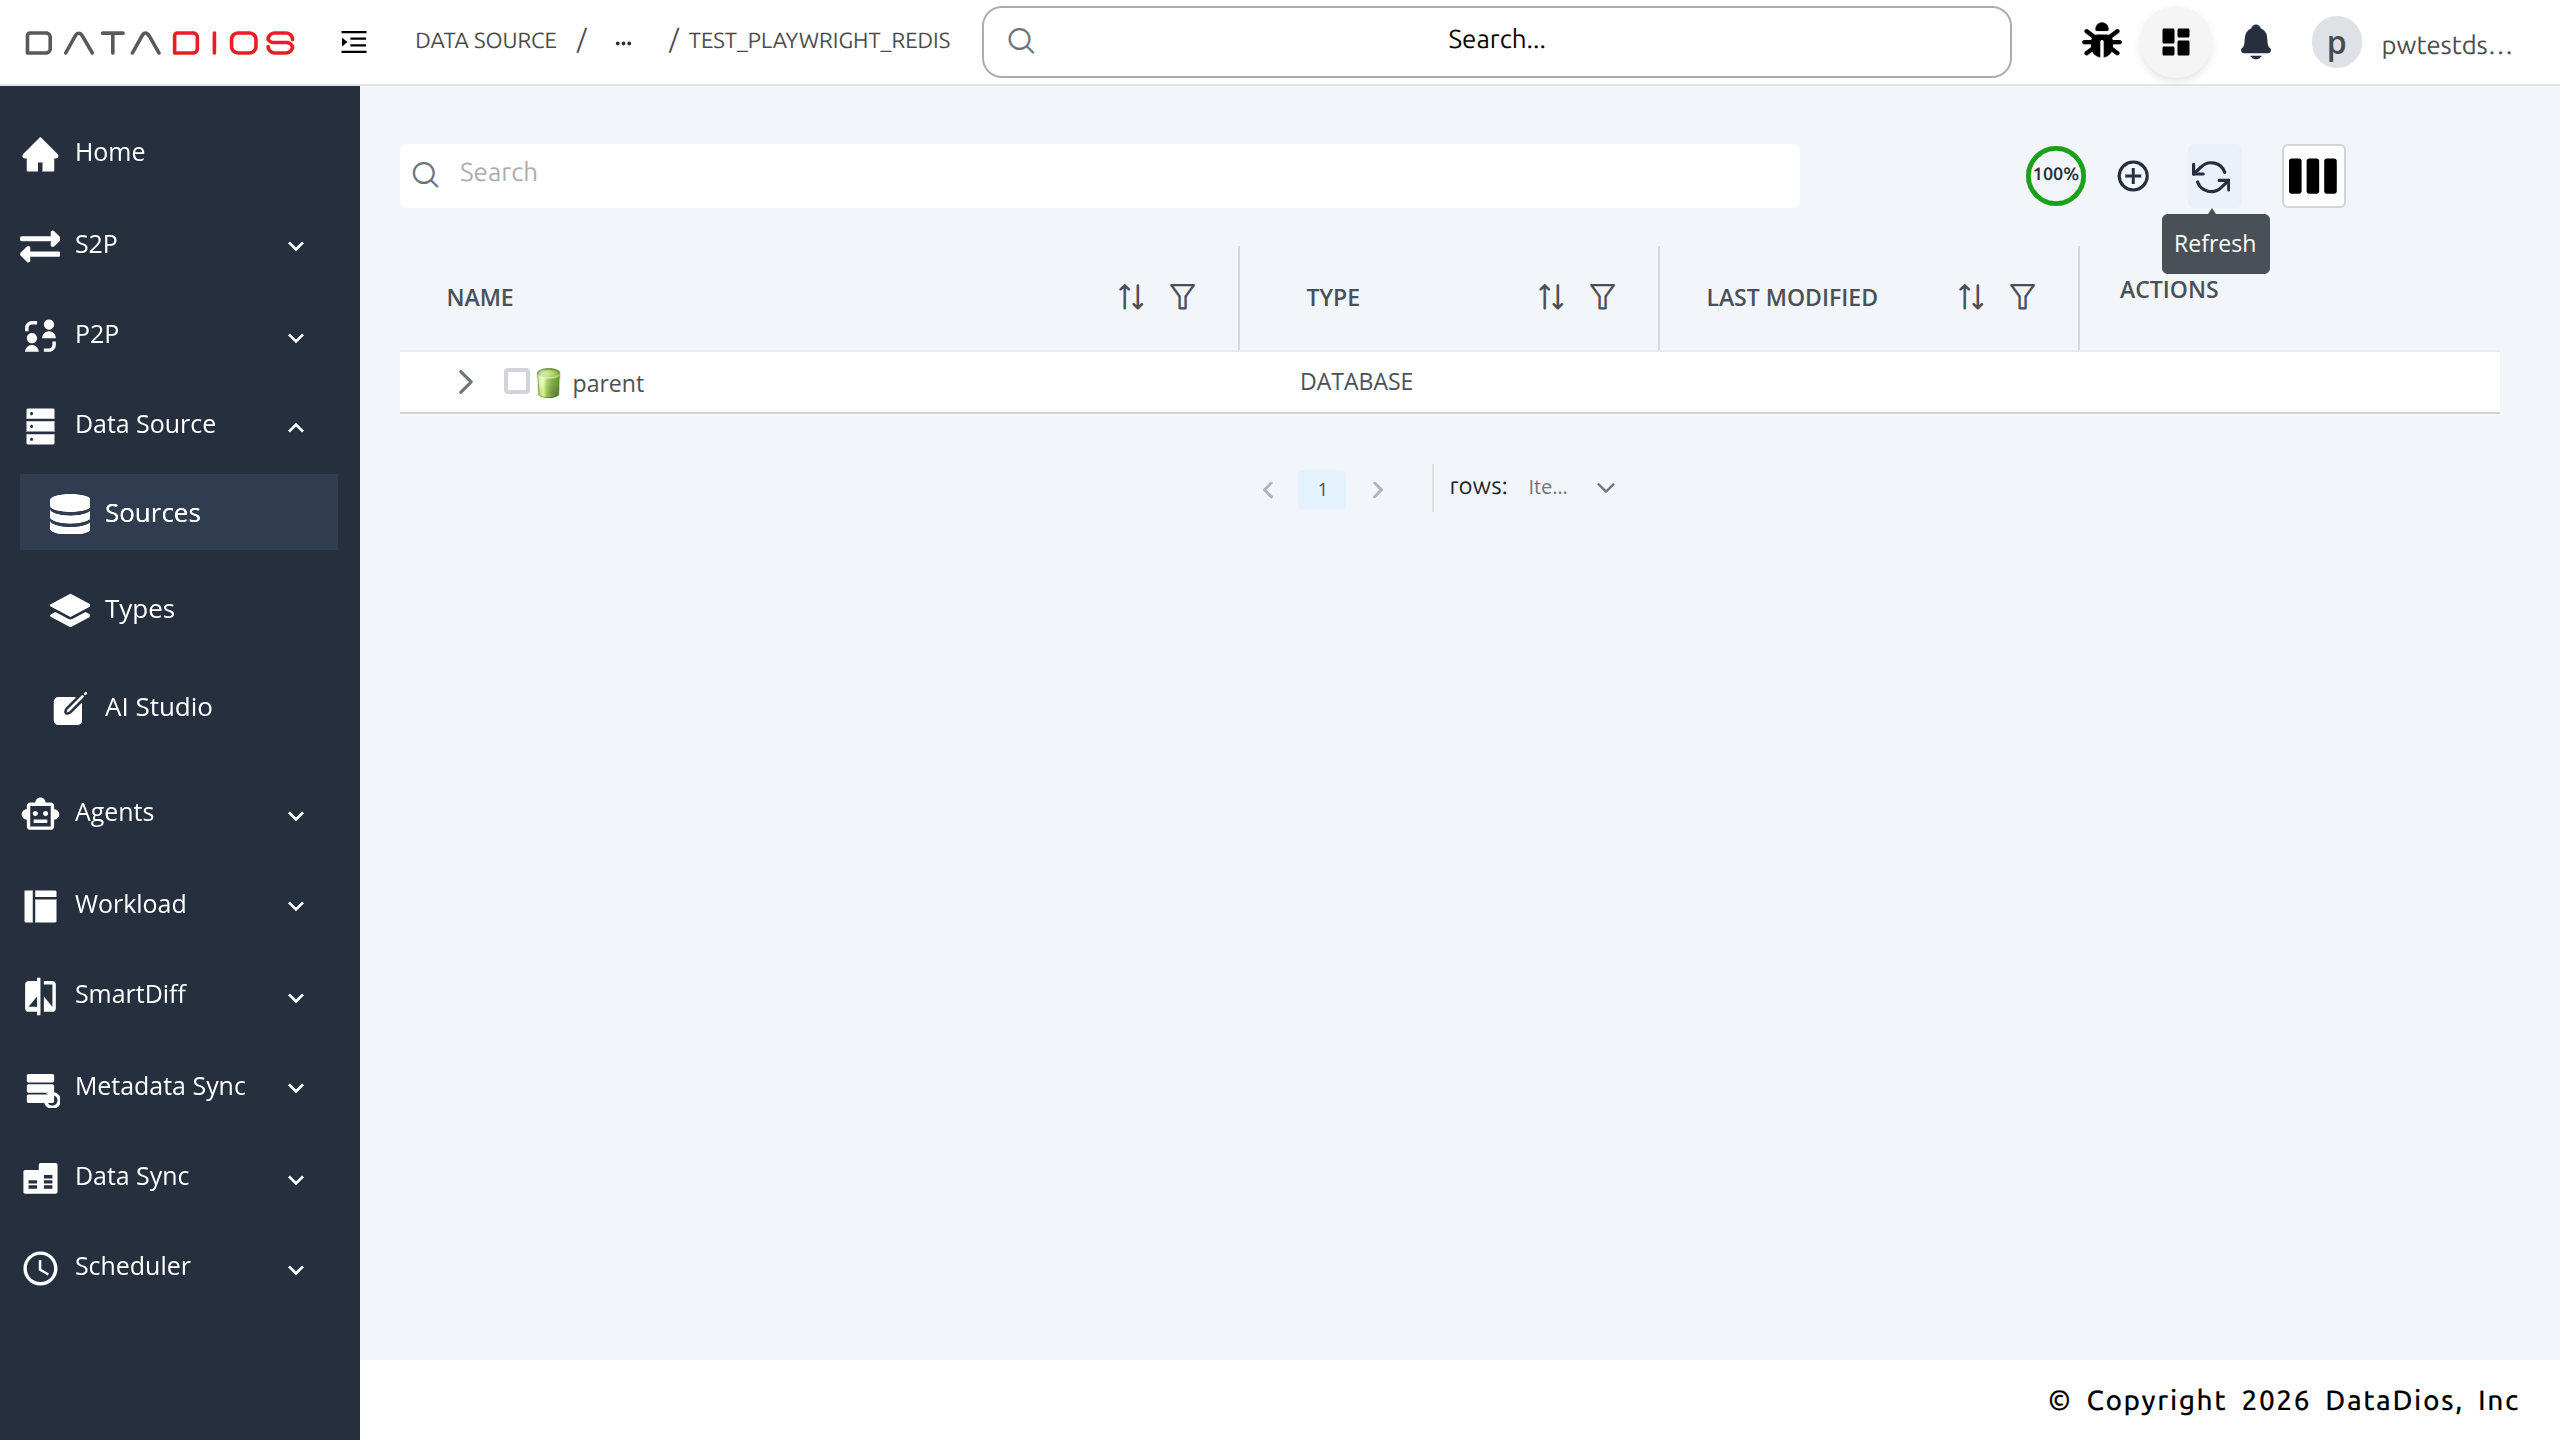
Step 8: TTL Key Expiry
After the TTL elapses (60 seconds in this example), click Refresh again. The expired key is automatically removed by Redis and no longer appears in the list — while the four permanent keys remain intact.

Supported Key Types
| Key Type | Description | TTL Support |
|---|---|---|
STRING | Single string value | Yes |
LIST | Ordered list of string elements | Yes |
HASH | Map of field-value pairs | Yes |
SET | Unordered collection of unique members | Yes |
Connection Parameters
| Parameter | Required | Default | Description |
|---|---|---|---|
host | Yes | — | Redis server hostname or IP |
port | Yes | 6379 | Redis server port |
password | No | — | Redis AUTH password; leave empty if auth is disabled |